0 Comments
To change up the flavor in an ordinary cake mix, substitute an equal of amount of any carbonated SODA that you want for the other liquid called for on the box! ... Then, if you have leftover soda, you can mix that with some canned vanilla or chocolate frosting to use as a drizzle glaze on top.
Suggestions: chocolate cake: Dr. Pepper, coke, orange soda, root beer yellow cake: lemon-lime soda, orange soda white cake: root beer, lemon-lime, orange, grape
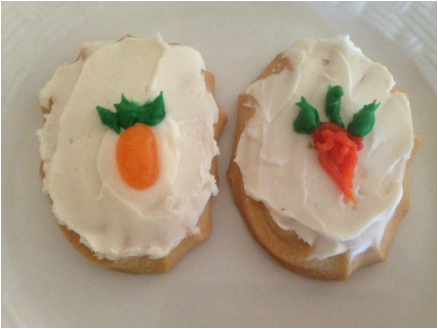
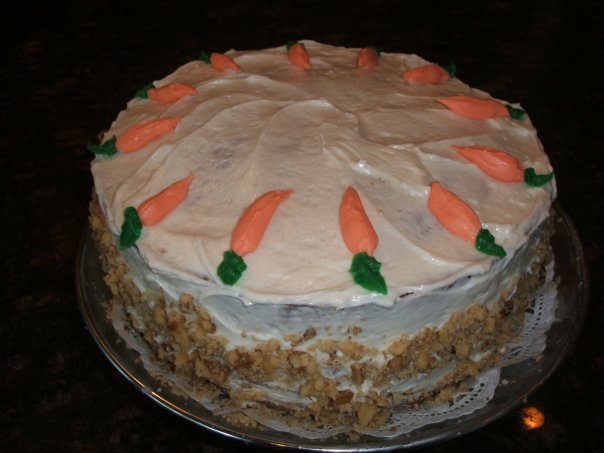
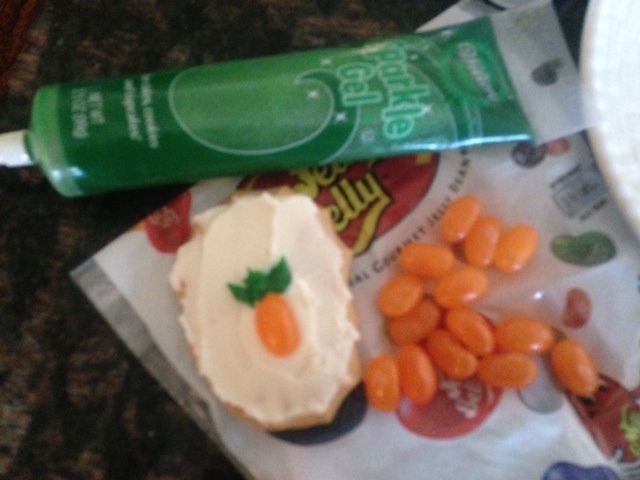
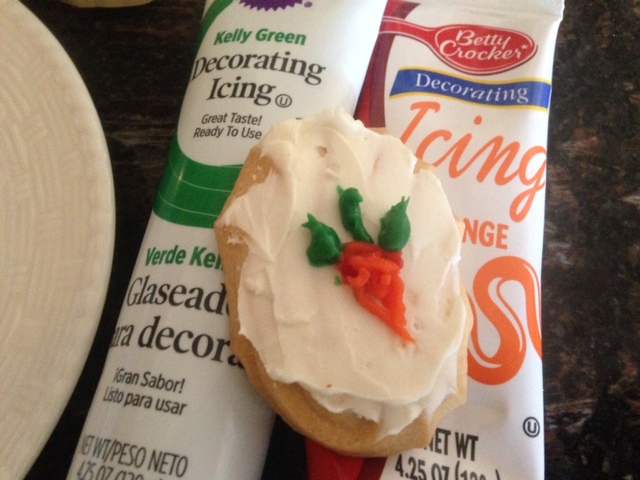
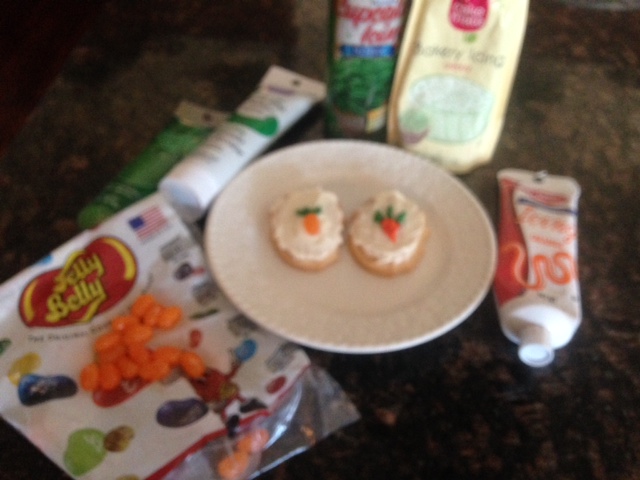
If you keep a package of sugar ice cream cones in your pantry, there are many ways to dress up your cookies, cakes and cupcakes for various seasons and occasions. Just keep some tubes of decorator icing too (certain colors go on sale after the appropriate holiday).
Why do the refried beans at your favorite Mexican restaurant taste so much better than the ones you buy in the can? Because they're smooth and creamy! .......
So, for each can of refried beans (you can even use fat-free), stir in 1/3 cup of SOUR CREAM! (light and non-fat are fine too) You can even add a few drops of your favorite hot sauce, if you want. Then just mix it all up really well..... Heat in a covered dish in the microwave for about 2 minutes ~ stir and serve Or.... you can always heat it up in a saucepan on the stove (but that takes longer and you need to keep an eye on it).
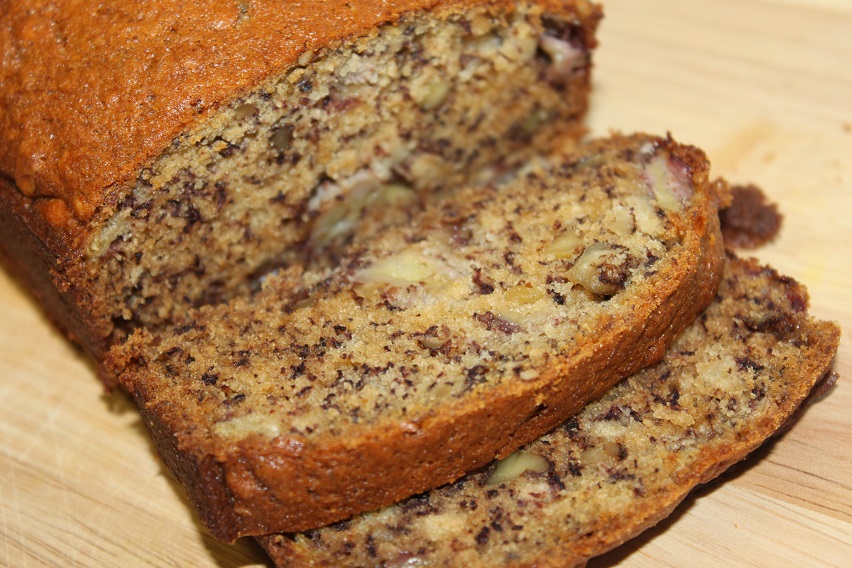
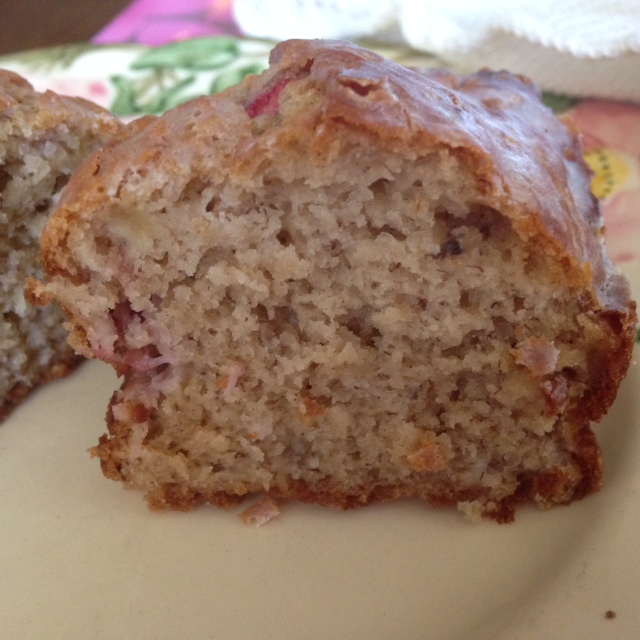
I usually use my grandmother's old recipe (from the 1930's) for banana bread, and tweak it for whatever other type of sweet quick bread that I'm making. My grandmother was the best baker ever, and over my 50+ years of baking (also for dessert catering and baked goods that I sell on eBay) I've picked up many tried & true hints for making the best sweet quick breads you've ever had!
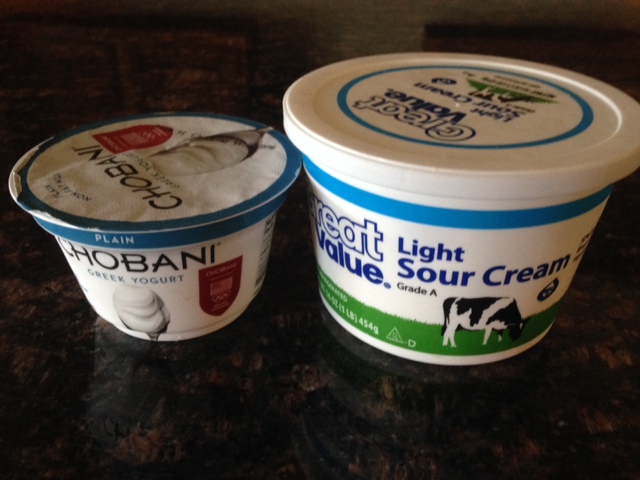
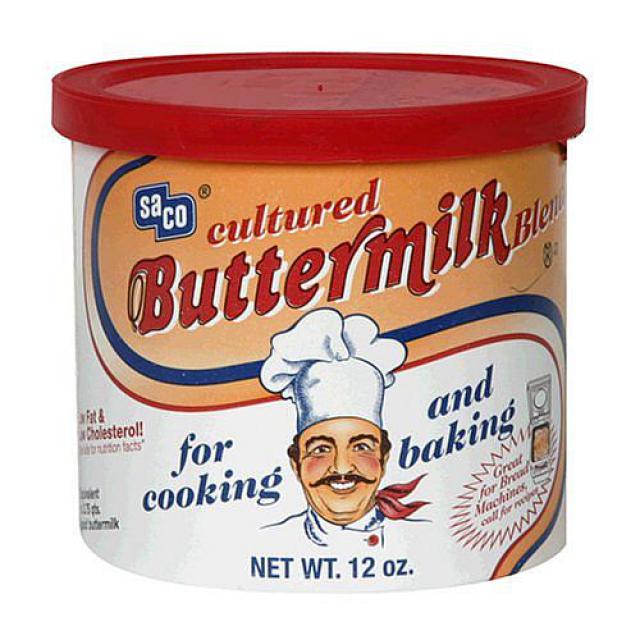
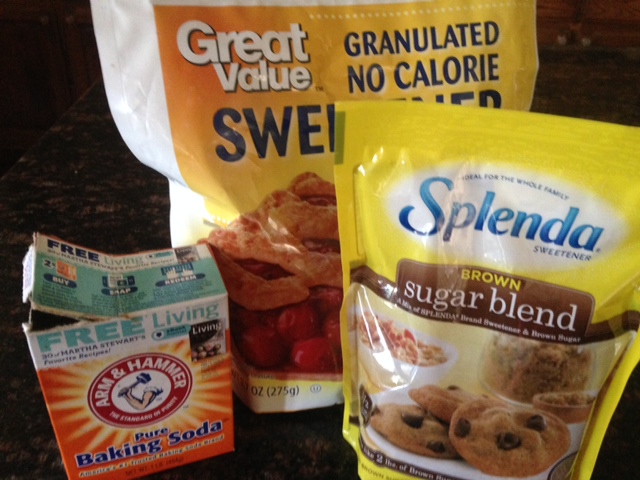
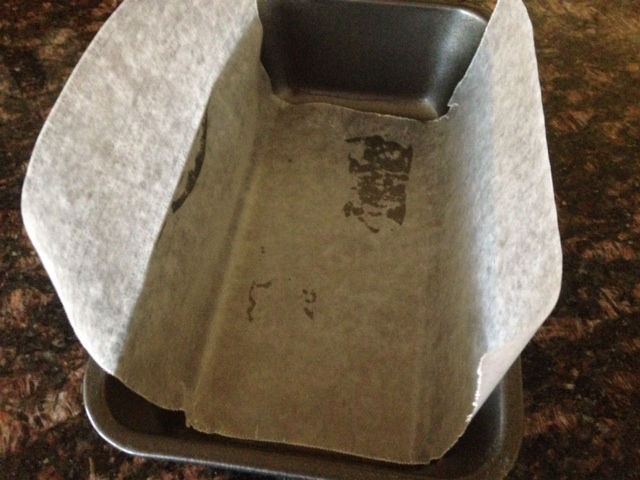
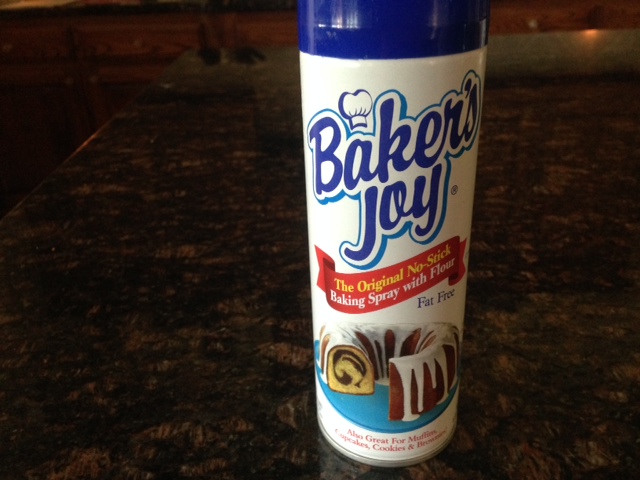
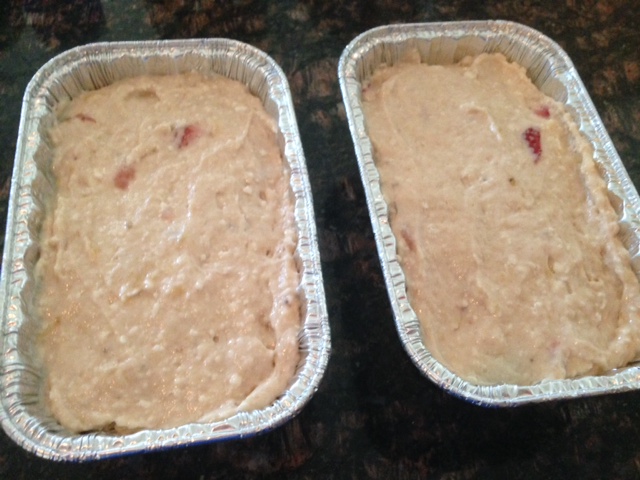
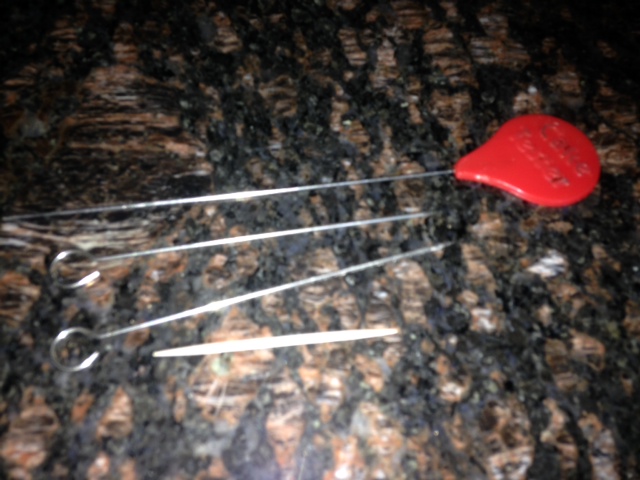
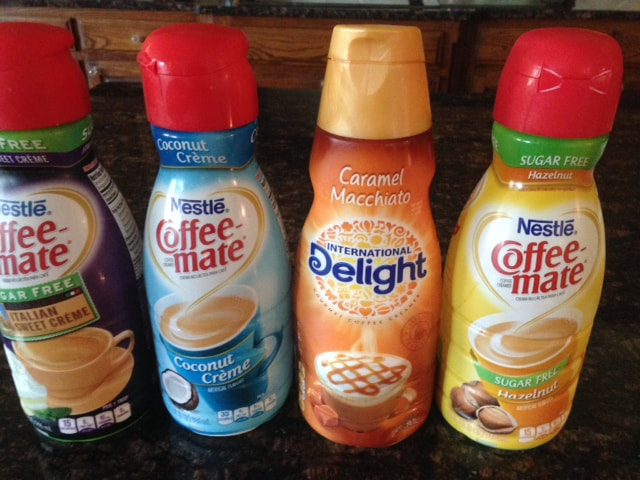
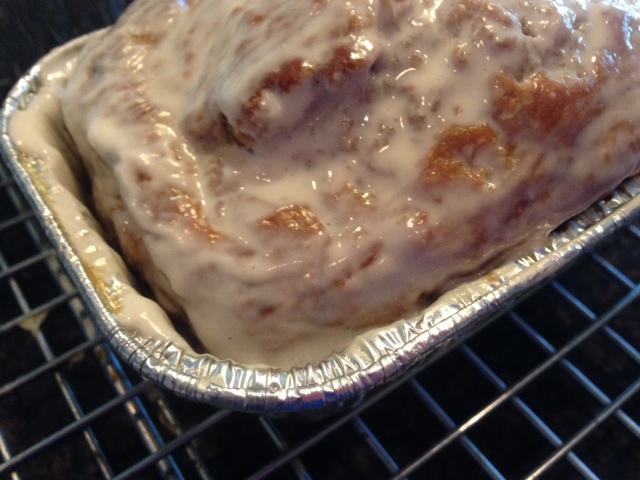
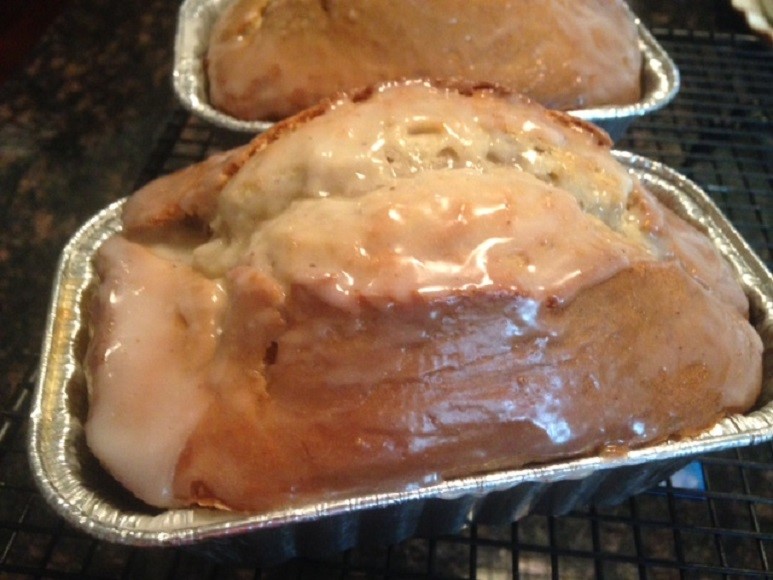
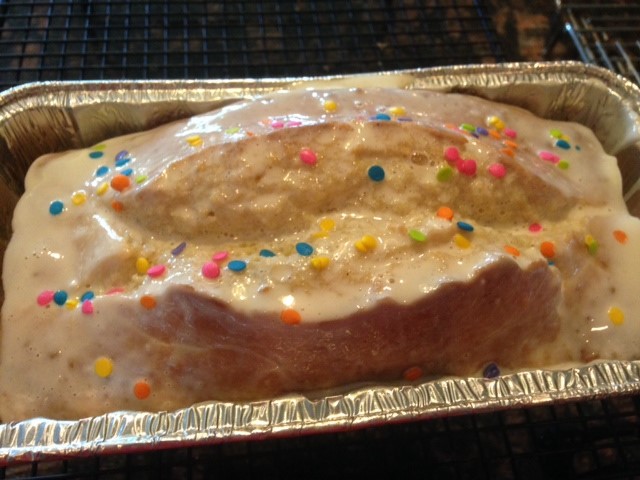
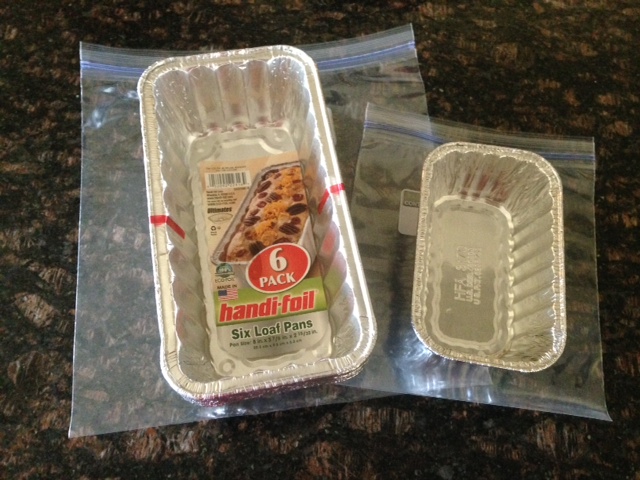
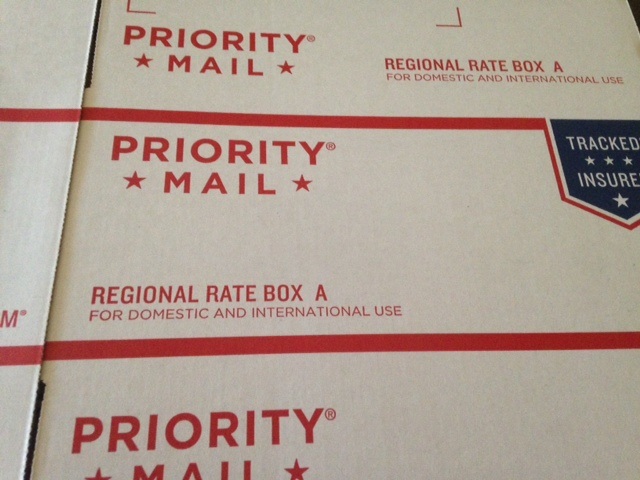
1. My grandmother's old banana bread recipe called for buttermilk or SOUR CREAM as the liquid. I've taken that a step further and will also use YOGURT sometimes (especially good if you find a fruit flavor that matches the bread). (and if you want to intensify the flavor, you could use some flavored liquid coffee creamer for about 1/4 of the liquid called for ~ then use the same coffee creamer in the glaze.) 2. Since I never use buttermilk except for baking, I keep a tin of POWDERED BUTTERMILK in the pantry ~ to make up as needed for recipes. You can find it where the other powdered milk is at the grocery store (usually near the bottom shelf). 3. My husband is diabetic, and I've found that I can substitute SPLENDA for sugar in just about any sweet bread recipe. I'll use brown Splenda or plain white Splenda (NOT baking blend, which is concentrated) ~ in equal amounts of the sugar called for in the recipe. If you use Splenda though, you should add 1/2 tsp. baking soda to the recipe (in addition to any other amount of baking soda called for in your recipe). 4. Most of my breads are made in disposable foil pans, since I ship most of them to customers. But, if I make it for home, then I'll line my pan with parchment paper ~ extending a few inches over 2 sides ~ and spray the entire pan (plus paper) with non-stick BAKING SPRAY (which contains flour). When the bread is done and cooled, it makes it so easy to pull it out of the pan by the paper "tabs". 5. BANG the pans down flat onto your counter once (or twice) before baking. This will help break any air bubbles inside the batter, and you won't have oddly shaped bread tops when it's baked. 6. I always put my bread pans onto a rimmed baking sheet, to catch any run-over during baking. 7. The absolute MOST IMPORTANT thing (so you don't have that hard, dry thick outside that most people have when they bake sweet breads) is to REDUCE the baking time from your recipe! (I don't know why nearly every recipe has you over-baking your bread!) I'll set the time for 10 minutes less than the recipe calls for, and test it with my cake tester. It usually needs 4-5 minutes more, but I want to be sure I don't over-bake it (and some breads bake faster than others) ~ but that's still 5 minutes less than your recipe said! (I've found that mini-loaves usually take 35-40 minutes ~ large loaves take about 40-50 minutes .... I've never found a recipe that actually takes a full hour, although many recipes tell you to bake your bread that long.) 8. TEST your bread to see if it's done. It should start pulling away from the sides of the pan. A cake tester should come out clean. (Don't use a toothpick because they're too short to get down into a large loaf pan.) If you don't have a cake tester, I bought some small packs of turkey trussing stuff for about $1 (in the bargain bin after Thanksgiving) ~ they have twine (to keep for something else or throw away), but also 6-8 thin, sharp metal sticker-thingies which work perfectly as cake testers! GLAZE ** I almost always glaze my sweet quick breads! Not only will it keep the bread softer and fresher for longer, but it's that little extra touch that makes your bread just that much better than anyone else's! 9. I use a small deep bowl and a small whisk for my glaze. I start with about 3/4 cup of powdered sugar, then whisk in liquid 1 tsp. at a time until it's smooth and my desired glaze consistency. (thinner for brushing it on ~ thicker if I want to drizzle it later so that it stands out ~ sometimes I'll brush the thin glaze on hot bread, then whisk in more powdered sugar and drizzle a design on top when the bread is cool. ) ** For SUGAR-FREE: substitute 1/2 cup plain white Splenda + 1/4 cup cornstarch for the powdered sugar ** 10. I keep a variety of flavored liquid coffee creamers for glazes, but will also use milk, coffee, or liquor (rum, brandy). If you want chocolate, I add about 1 TB dark unsweetened cocoa powder (I only buy dark) to the powdered sugar, plus about 1 tsp. dark or sugar-free chocolate syrup ~ then the liquid whisked in as needed. 11. If you brush/drizzle the glaze on HOT bread, it will be clearer (translucent) ~ and will drip down the sides and into the cracks better. If you brush/drizzle on cooled bread, the glaze will be opaque (white or lightly colored). 12. I always drizzle/brush glaze on the HOT breads into any cracks on top and down the sides of the bread (right next to the pan). (Don't skimp on the glaze that you put down the sides and corner of the bread! Just pile it in there!) If your bread rose straight up, you might need to brush those exposed sides with glaze too. This will keep the sides and crusts of the bread soft and help to seal in the moisture, so your bread stays fresh and tender longer. ** of course, it's always fun to put some seasonal sprinkles on top too! If you put them on the glaze as soon as you glaze it, the sprinkles will stick ** FREEZING and SHIPPING ** 13. I put a piece of waxed paper or bakery tissue over the top of each loaf. Then wrap each loaf securely in plastic wrap. Then, into a freezer baggie they go!
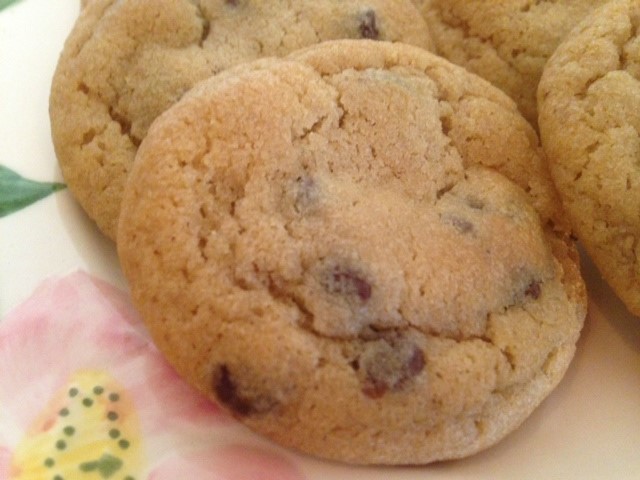
There are 4 things that I do to make my chocolate chip cookies, blondies and other baked goods with BROWN SUGAR taste even better! Do this, and your baked goods will just be that much better than anyone else's ~ wait for the compliments!
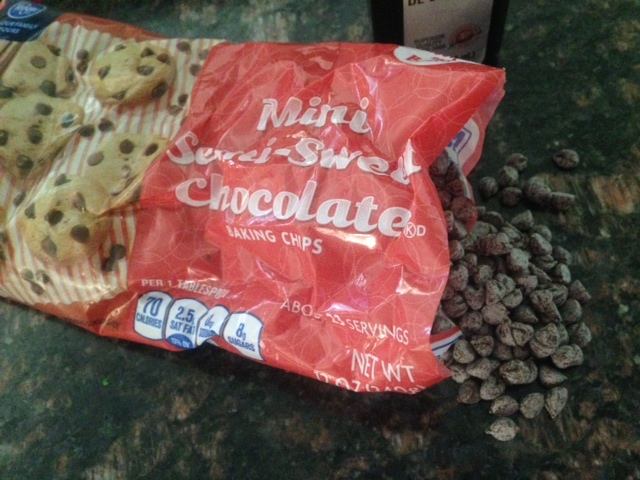
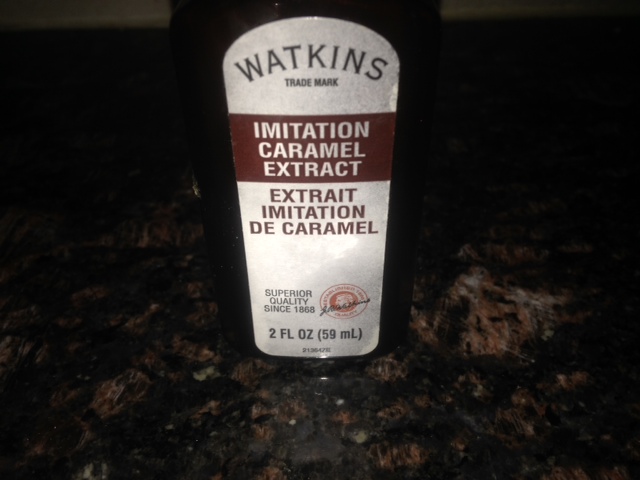
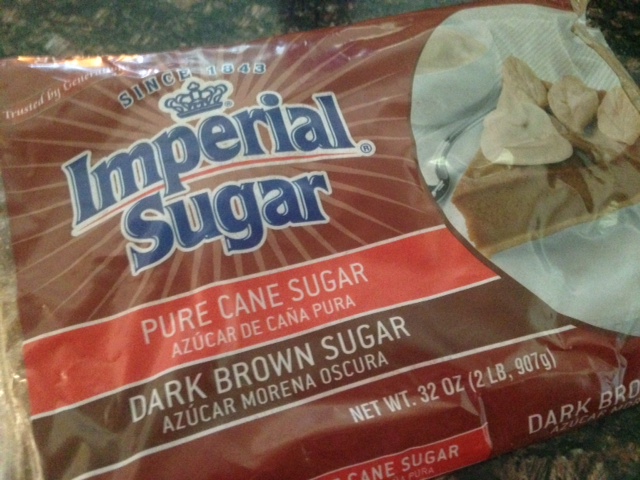
*** 1. A drop or 2 of CARAMEL EXTRACT to the batter will enhance the rich flavor (it's by the other extract on the baking aisle at the grocery store). 2. I only use MEXICAN VANILLA (which I buy when I travel there, or from eBay). It's pure vanilla with a deep, rich flavor ~ and is actually cheaper to buy big 8 oz. bottles from eBay than the little bottles of not-as-good real vanilla at the grocery store. 3. I use mini-morsel semi-sweet chips nearly all the time (unless a customer requests milk or dark chocolate). Since they're smaller, there's more than twice as much in the same measurement as regular chips ~ and the cookies really seem chock-full of chips then. 4. DARK BROWN SUGAR ~ I don't even buy light brown sugar any more! Dark brown sugar has a touch of molasses in it, and really makes a huge difference in the taste of your baked goods! If a recipe calls for light brown, just ignore that and use dark.
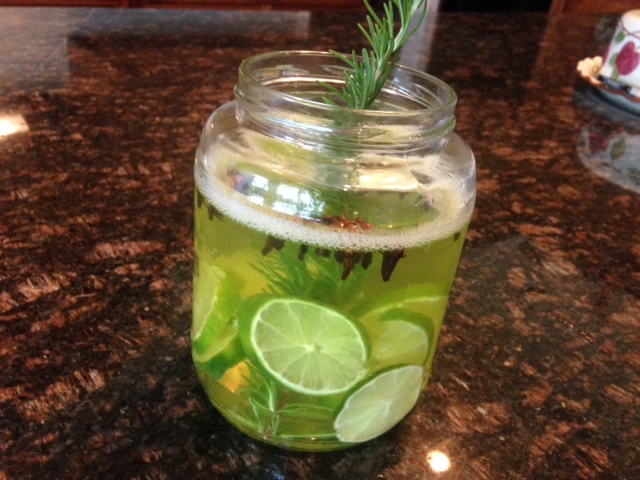
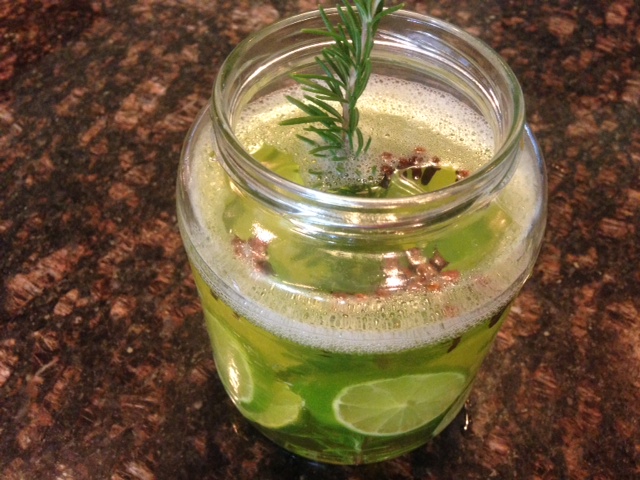
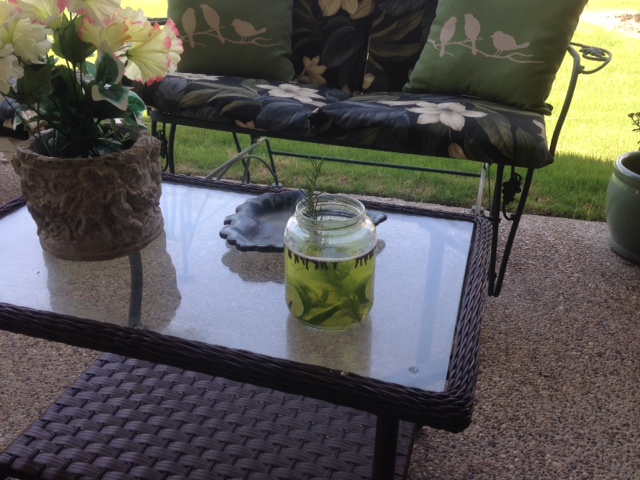
I've read many tips on how to make a homemade mosquito repellant ~ sprays, floating candles, and other ideas. I combined ALL of them to make this jar of mosquito repellant to keep on my patio (but could even keep it inside) ~ just be sure to put it out of reach of toddlers or animals (who might want to drink it).
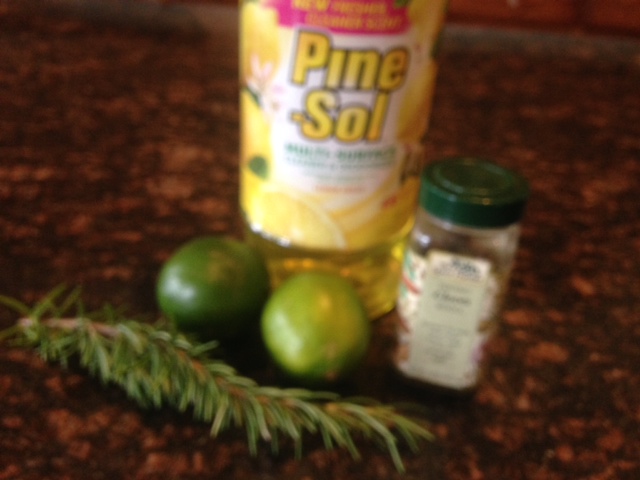
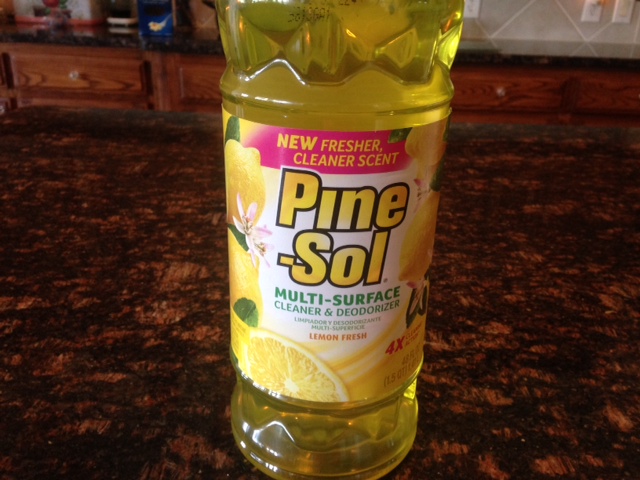
For some reason, mosquitos seem to hate Lemon Pine Sol, so invest the few extra cents and get the real thing ~ it's still really inexpensive and you can always use it to clean with! *** Homemade MOSQUITO REPELLANT in a JAR I used a clean glass pickle jar................................................2 fresh limes, sliced about 1-1/2 cups Lemon Pine Sol........................................about 1-1/2 cups water 10-15 whole cloves...................................................................1-2 sprigs fresh rosemary The important measurement here is equal parts water with Lemon Pine Sol! I put the water and Lemon Pine Sol into my jar, and stirred to mix. Then dropped in the lime slices, cloves and rosemary. It actually looks like a decorative jar (and you could add more rosemary sprigs to make a mini-bouquet in there). *** Homemade MOSQUITO Repellant SPRAY Equal amounts of Lemon Pine Sol and WATER .... Put into a spray bottle and spray your patio (or wherever)
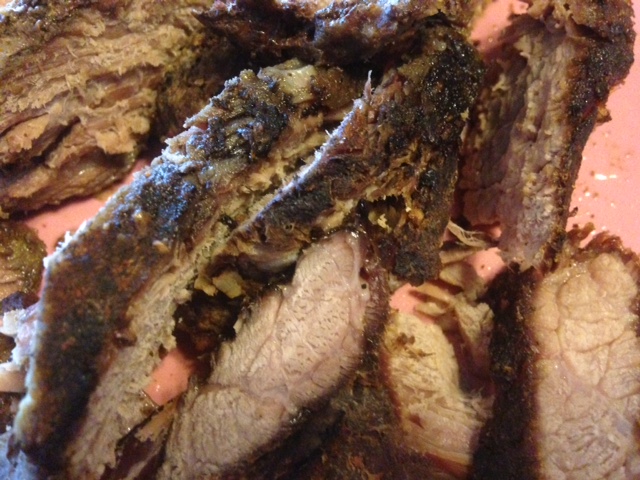
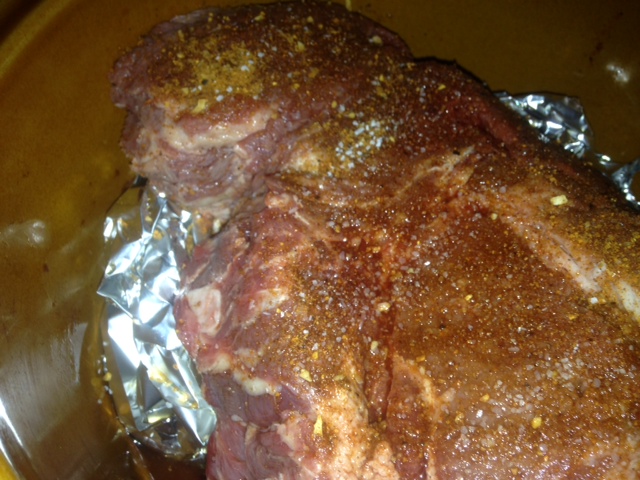
If you don't have a smoker, you can easily replicate the smoky flavor of meats done for hours in a smoker. I did a brisket here, but you could use a London broil, flank steak, or any leaner thick cut of beef ... even meaty ribs. You'll even have a slight "bark" on it, like real "smoked" beef.
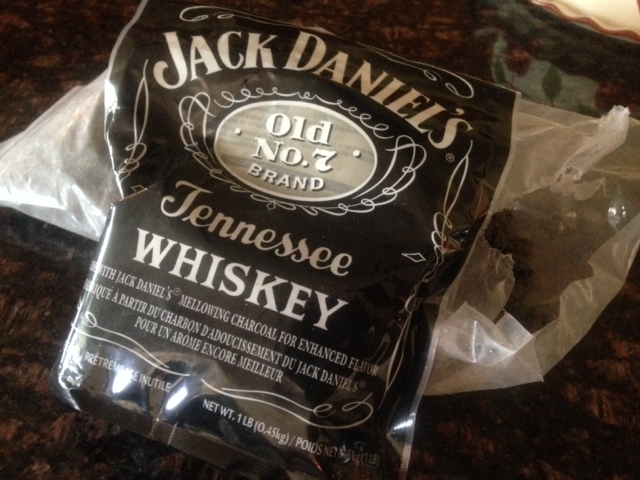
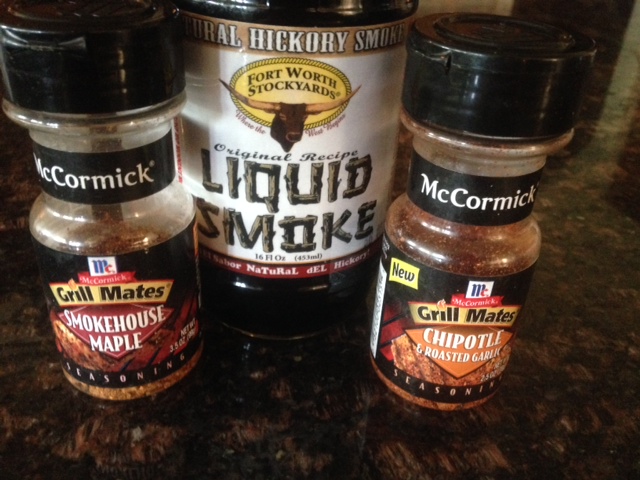
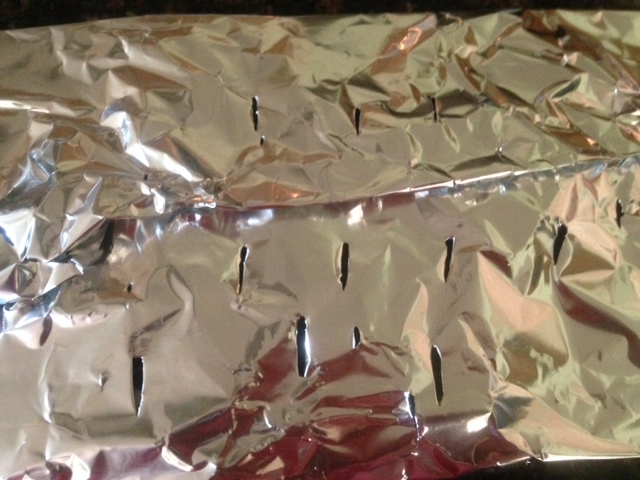
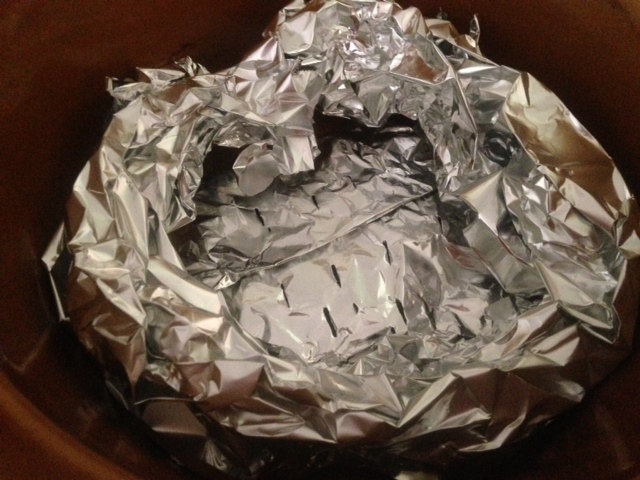
I prefer just seasoning the beef with McCormick's Smokehouse Maple or Chipotle Smokehouse Dry rub (and a little Kosher salt). If you prefer a BBQ sauce when you serve your meat, my suggestion is Stubb's ~ either hickory or mesquite. How to SMOKE BEEF in your CROCKPOT 3-4 lbs. beef (don't cut off any fat cap) 1-2 cups mesquite or hickory wood chips (depends on size of crockpot), soaked ~or~ smoking pellets Dry Rub ~ I like McCormick's Smokehouse Maple or Chipotle Roasted Garlic 2-3 tsp. liquid smoke (I use Colgin mesquite or hickory) 1/2 cup of water or beer (dark ale or stout are best) heavy duty aluminum foil *** Soak the wood chips in water for at least 30 minutes, and drain the water. Spread out a good-sized length of the heavy-duty foil on the counter, and put the wood chips inside. Fold over the edges of the foil to enclose the wood chips and make a packet, that fits inside your crockpot completely. Put the packet into the bottom of the crockpot and poke holes in the top (so the smoke can escape and flavor the meat). ** If you have a rack that fits into the crockpot, put it over the wood chip packet ~ or crumble up some foil and put it around the packet to set the meat on (so it doesn't rest directly on the packet and block the holes). Rub all sides of your meat with spice rub. Put the brisket into the crockpot. In a small bowl, mix the liquid smoke into the liquid that you're using. Then pour the liquid over the brisket. Put the lid on and cook on low for 8-10 hours. The meat is done when it is cooked through and has reached desired tenderness. (The longer it cooks, the more it will fall apart and get so tender) GIFT WRAP a gift certificate, check or money * birthday, graduation, shower, wedding, anniversary *6/8/2016
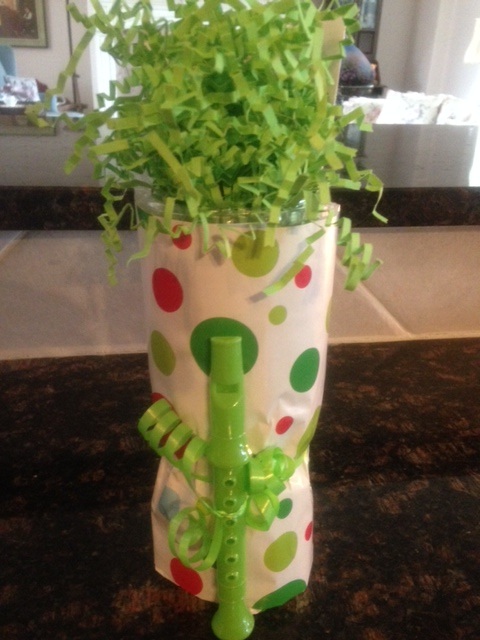
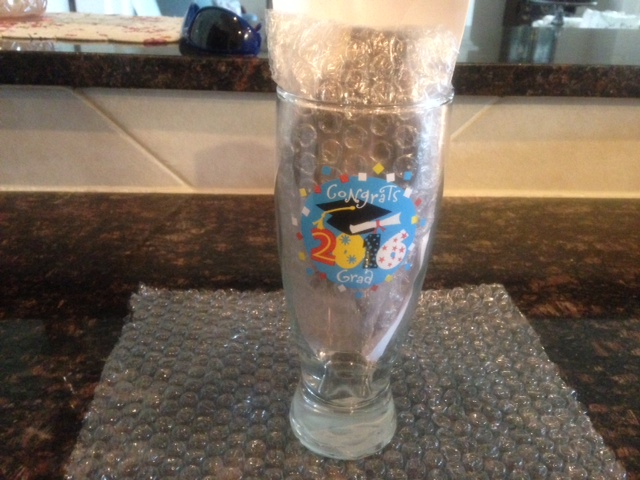
This is how I wrapped my grandson's high school graduation gift .... I had an envelope with cash in it, plus a watch ~ and put them into a tall glass with a graduation decal (which I bought at the dollar store). It can easily be adapted to fit any other occasion, and is much cuter than just handing someone an envelope!
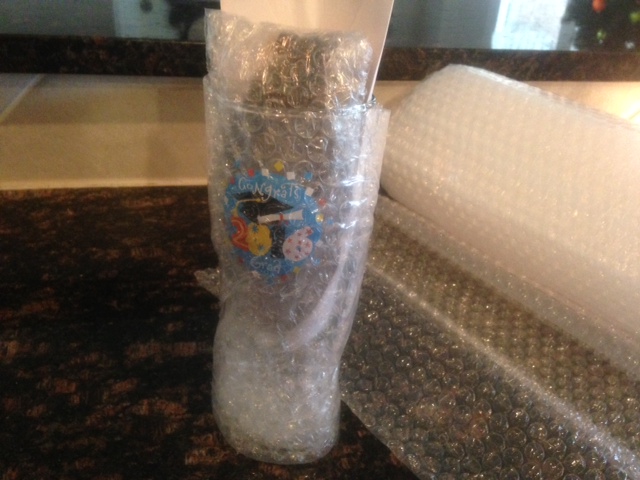
Need: 1 large glass or mug small bubble wrap ....................... wrapping paper ...................... filler ............................ribbon a small gift (or even some favorite flavor jelly bellies) cash, check or gift certificate in a card & envelope Suggestions for something else small to stick in there: jelly bellies, M&Ms, or Hershey Kisses ~ a key chain ~ a pretty barrette ~ jewelry (earrings, necklace, bracelet, anklet) ~ a packet of drawer sachet ~ car air freshener ~ cosmetics or a pretty new nail polish ~ jerky or beef sticks *** I stuck the envelope into the glass, and then put the watch in with it (wrapped lightly in some bubble wrap). (1) Cut a piece of small bubble wrap big enough to fit up the sides of the glass. Put the glass in the middle of the bubble wrap and pull up the sides, then roll the glass so it's tightly covered and tape it. (2) Cut a piece of wrapping paper large enough to fit up the sides of the glass ~ put the glass in the center of it, pull up the sides ~ then roll the glass so the paper is tight against the bubble wrap and tape securely. (I also taped the bottom, so it would be flat). (3) Stick some filler into the top of the glass, and tie a ribbon around it. No exterior card is needed since you have a card inside the glass. |
Archives
October 2024
Categories
All
|