NOTE: You can make an 8" or 9" pie, but I used a deep dish 9-1/2" pyrex pie pan, because the filling would just be a very large mound in a smaller pan (and since my husband tends to cut himself a BIG slice, it would probably topple over his plate!)
WARNING: My old pie crust recipe calls for baking at 400 degrees, but I've read that "newer" (think they consider from the '70s on as "new") pyrex bakeware that's made in China contains sand and can explode in ovens that are 400 or higher! So, unless you're using retro pyrex and know that it was made in the USA, don't bake in it higher than 375!
***
PERFECT APPLE PIE
(Button Link to perfect butter crust below)
APPLE FILLING:
I used 5 apples (Fiji & Gala) ~ 3 were giant-sized and 2 were medium. I cored & quartered them, but did NOT peel them. Then sliced them in my food processor ~ and put into a large bowl.
3/4 cup sugar ~or~ 3/4 cup plain white Splenda (not baking blend)
1 tsp. cinnamon...............................................1/4 tsp. cloves
1/4 tsp. ground nutmeg…………………………pinch of salt
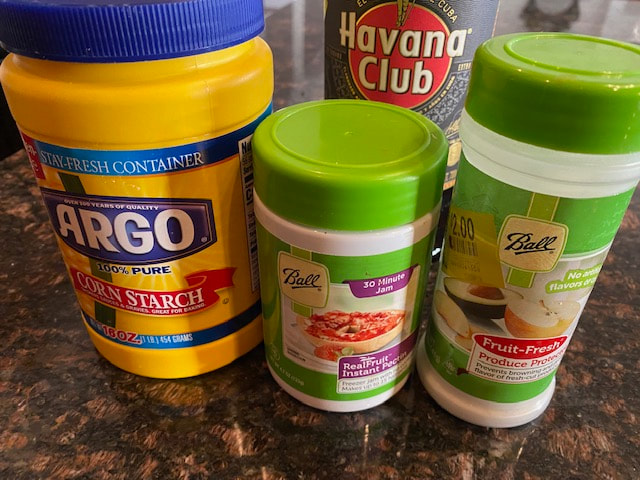
1/4 cup cornstarch……………………………….1 TB "Fruit Fresh"
3 tsp. powdered pectin.....................................2 TB RUM (optional)
(NOTE: The Fruit Fresh and powdered pectin can be found near the canning supplies at grocery store, or near the Knox gelatin. The Fruit Fresh will keep apples from turning color, and the powdered pectin will keep the filling from becoming "watery")
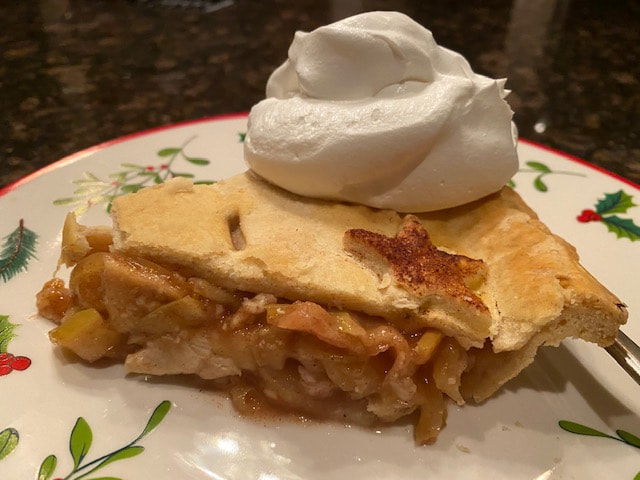
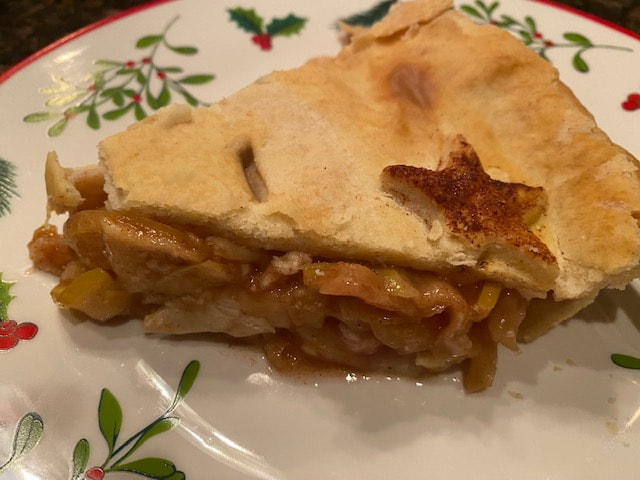
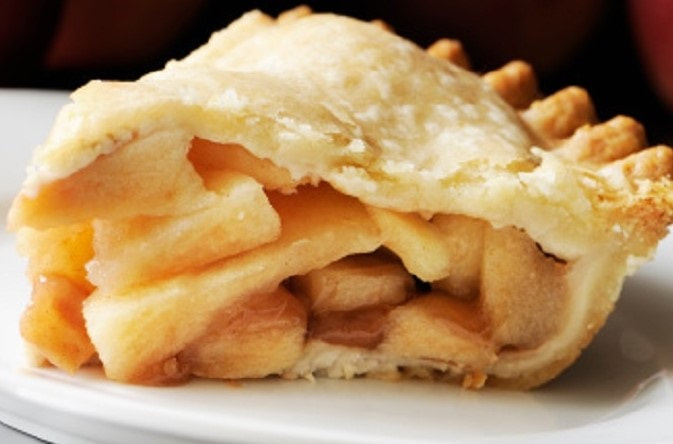
Put all of the ingredients above into the bowl with the sliced apples. Fold together with a rubber scraper until the apples are coated well. Then put them into a large casserole dish ~ cover and microwave on HIGH for 5 minutes. (This will soften them, so they won't be in separate layers when you slice the pie ~ and you won't have to worry about undercooked apples later ~ and the peel will be soft enough to eat, since you didn't peel the apples). Let them cool, while you make the crust.
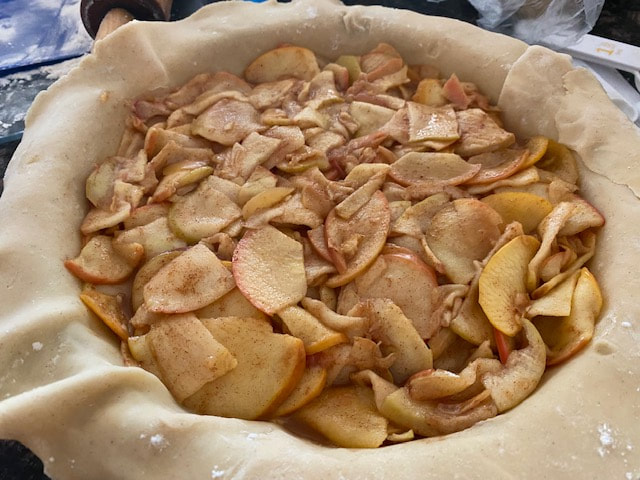
Then, when the crust is ready to be filled, carefully drain the liquid that's accumulated with the apples out (ok if there's still about 1/4 cup or so in there) ~ and put the filling into the bottom crust. Spread evenly and flatten it down a little (so no air bubbles underneath).
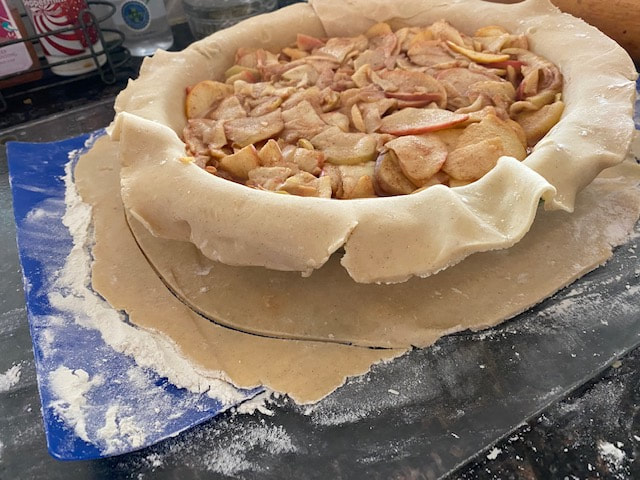
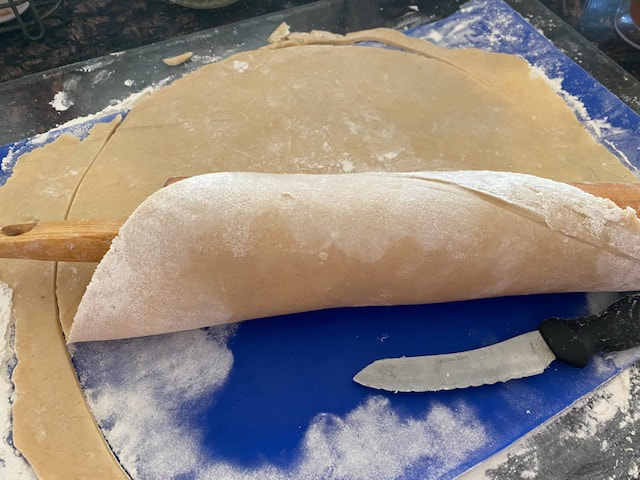
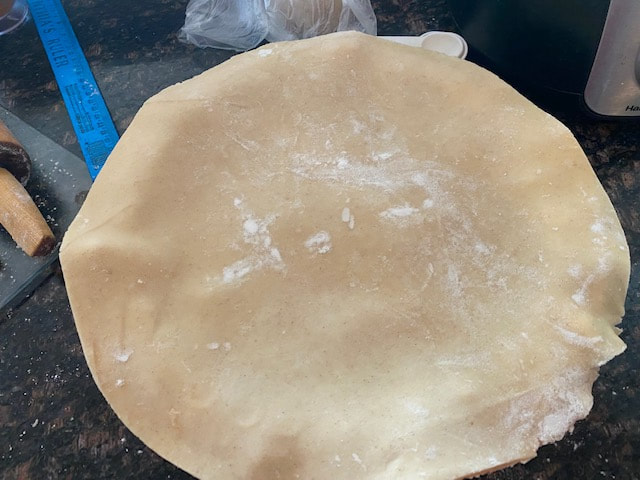
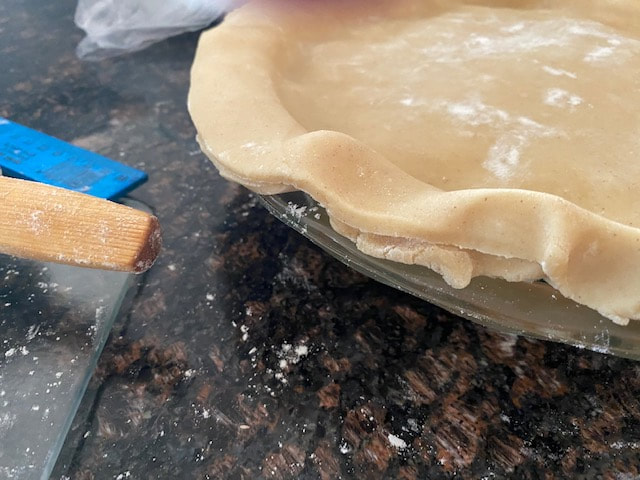
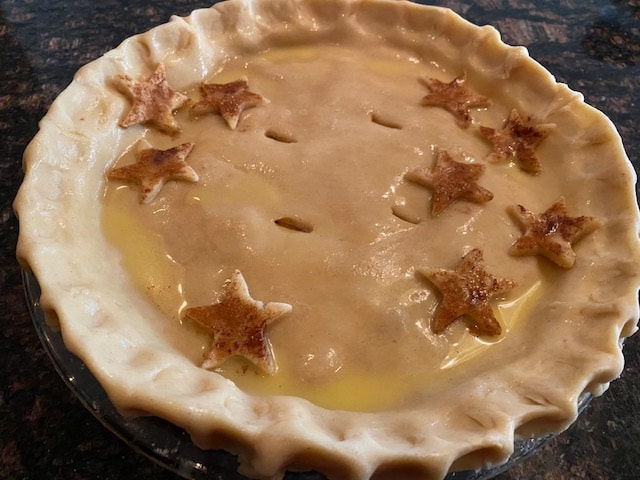
Roll out the top crust ~ set your filled pie pan on top and cut about 1-2" around the edge. Then roll up the pie crust on your rolling pin, and unroll it over the apple filling (see photos above). With your finger, press down right at the base of the sides where it meets the top crust. Crimp the top & bottom crust edges together. Cut some slits in the top crust for steam to escape.
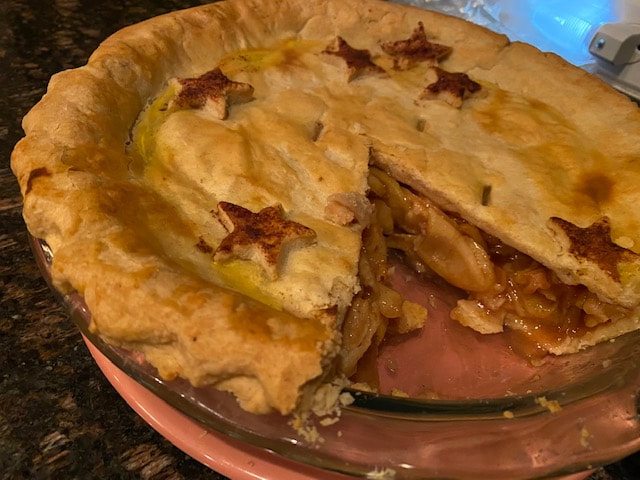
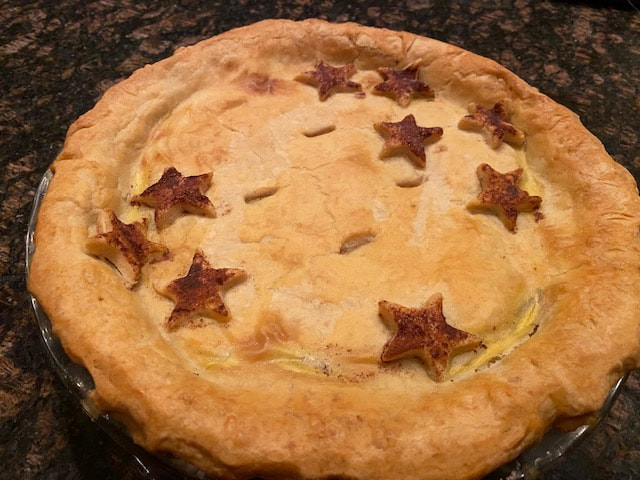
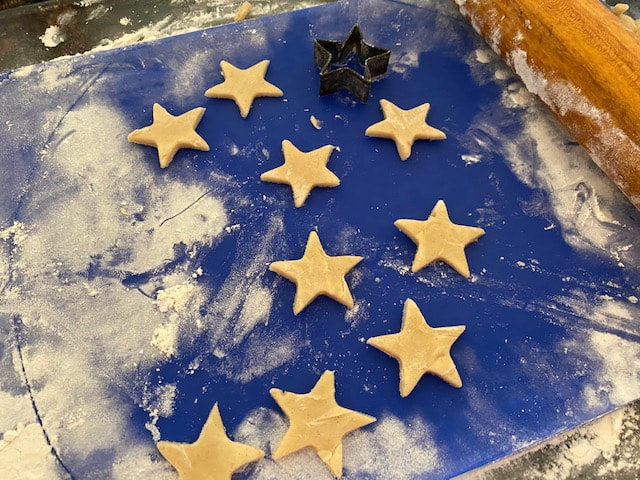
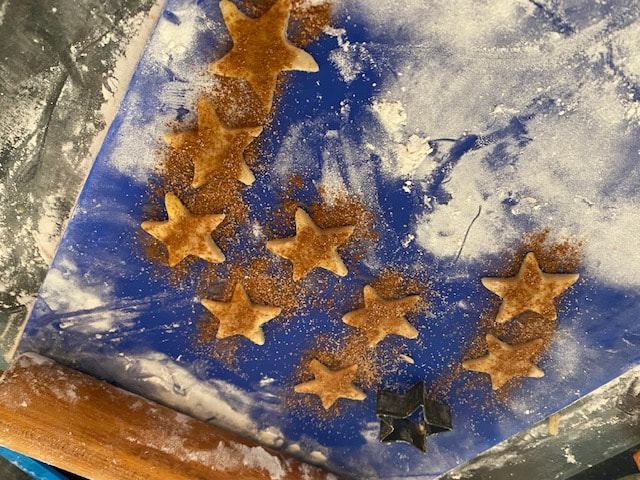
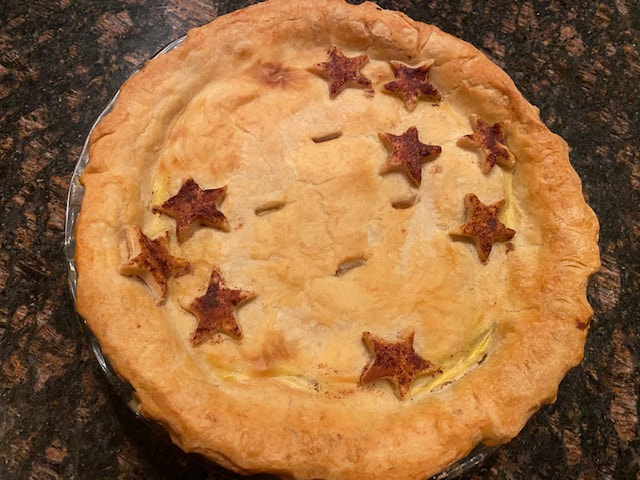
I used extra pie crust to roll out little star shapes. I brushed them with egg-wash and then sprinkled with cinnamon sugar. (Do this on your counter ~ not on the pie. You don't want cinnamon sugar all over the top of the pie.) Random tip: As in all decorating (including interior & exterior housing), ODD NUMBERS are more pleasing to the eye than even numbers! ** Then egg-wash the entire pie crust & edges, and place your cut-outs on top.
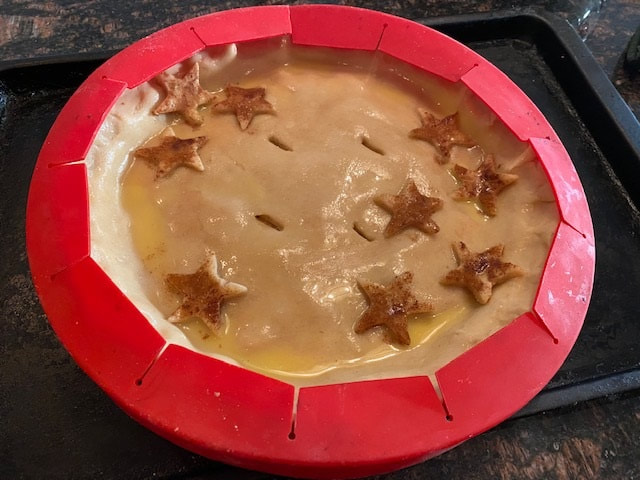
I used a silicon pie crust shield (bought on eBay and LOVE it!) to keep the edges of the pie from burning (or put strips of foil around the edges), put it on a rimmed baking sheet to catch any run-off and bake in preheated 375 oven until a pretty golden brown ~ about 40-50 minutes (mine was perfect at 40 minutes)
** Allow to cool completely on a wire rack before serving.
 RSS Feed
