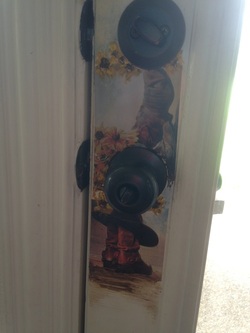
full area painted
|

close-up of upper area
|
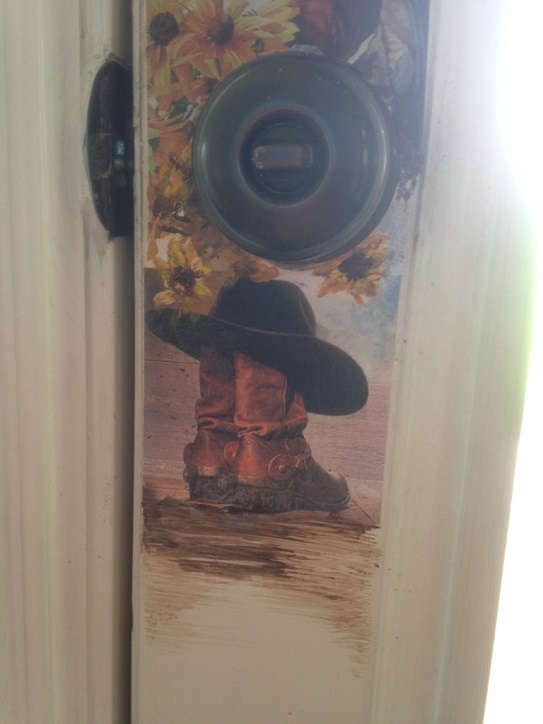
close-up of lower area
|
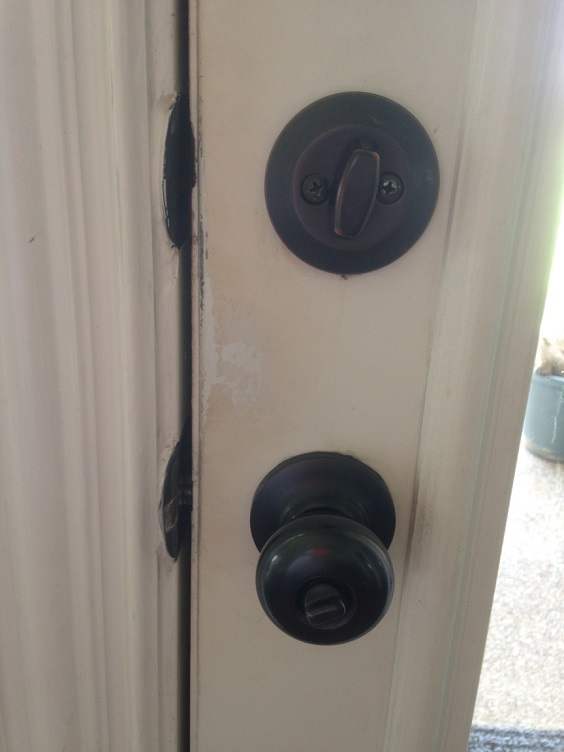
before * door frame
|
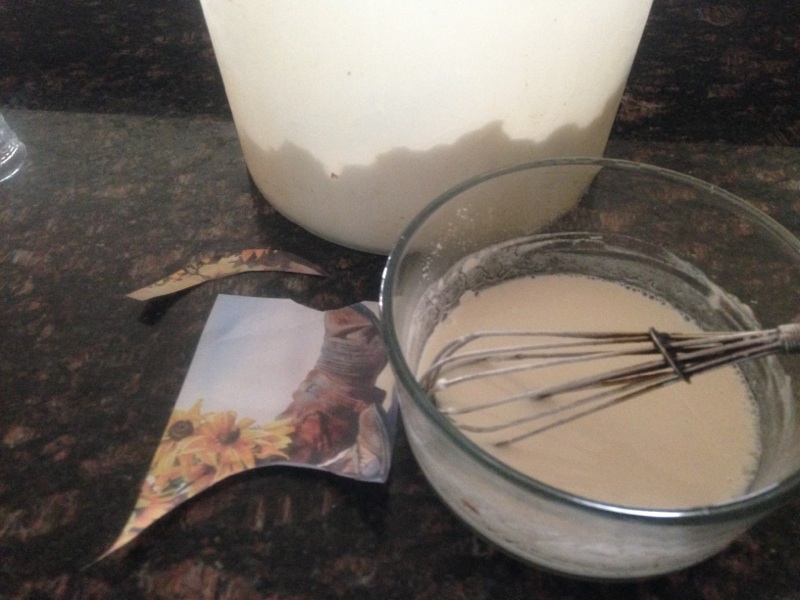
cut out picture * homemade "glue"
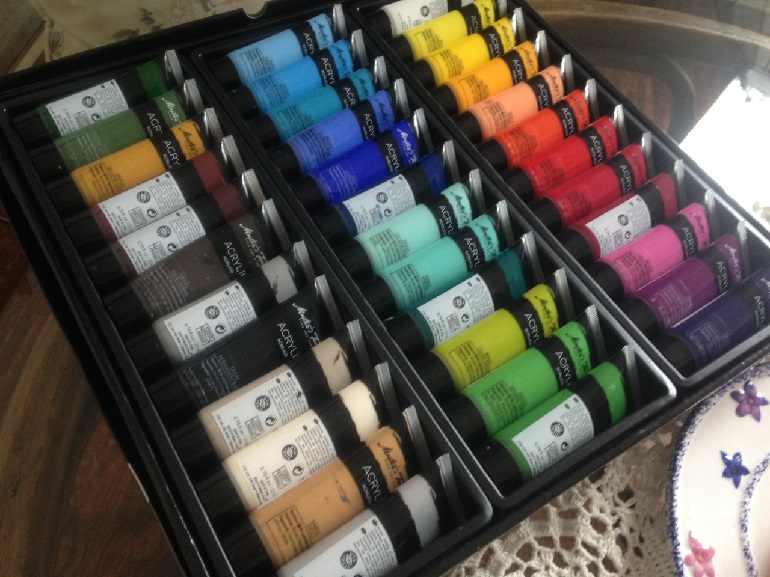
acrylic paint set
|
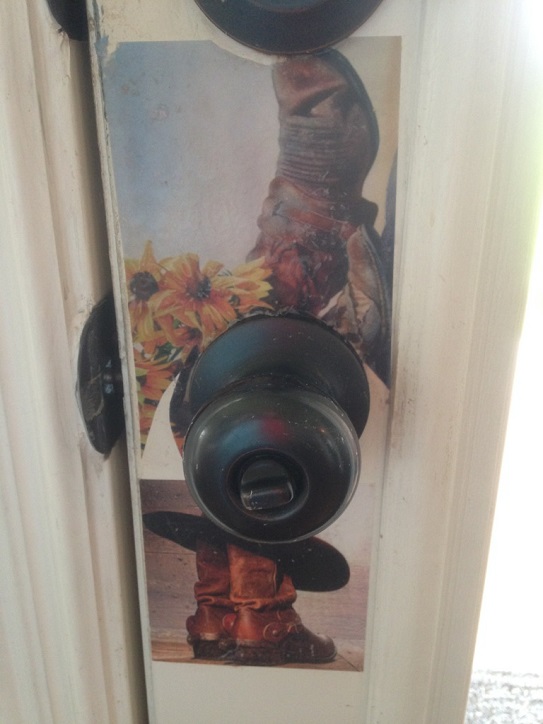
pictures glued to door (before painting)
|
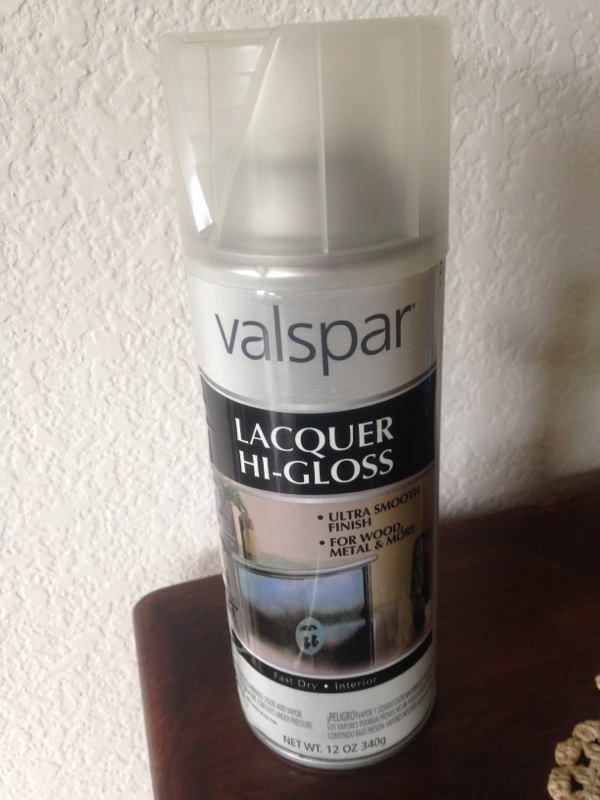
clear gloss or shellac afterwards
|
Our white painted door was so dirty around the doorknob! I'd washed it so many times that the paint was coming off; and since the door was about 9 yrs. old, I knew the paint would no longer match if I just "touched it up". Since we'd like to replace this door in a few years with a stained wood door, I thought I'd experiment to cover that grimy area.
I found 2 photos on the internet that I liked of cowboy boots (we live in Texas), and printed them onto regular white paper (4x6" sized photo). Then I trimmed the edges of the photo to fit the frame around the window in the door, and around the doorknob.
I didn't have any white glue (which you can dilute with water for this), so I whisked about 1/4 cup plain white flour into about 1 cup of HOT water (so the flour dissolves and doesn't clump up). Then, I dipped each printed photo completely into my homemade "glue" ~ letting the excess run off into the bowl ~ and smoothed it onto the door where I wanted them. (You may want to dab the prints with a dish towel, if they're too wet or runny when they're on the door. ) I let them dry for about 1/2 hour, but that would depend on the humidity where you live (you don't want them soaking wet when you paint, or the paint could run).
I used acrylic paints in a tube. You can use craft paint, but it's not as thick and more likely to run on a vertical surface. (If you DO use thinner craft paint, just dab the tip of your brush into it). I painted more sunflowers (trying to match the ones in the picture, to fill in the empty areas at the top, and shaded the sky from the picture gradually up onto the door itself. Then, I just shaded the wooden table area under the boots in the lower photo to gradually disappear into the door frame. ** The trick is to actually paint over the edges of your picture and shade it up and down. You want to have hazy, indistinct edges at the top and bottom, or it will just look like you cut out a photo and glued it to the door. **
TIP: Add some paint accents to the flowers, backgrounds and anything else you feel like, in the pictures. Then, when you paint additional flowers (or whatever) and extend the edges, your additions will have the same colors as the actual picture. ** Flowers, leaves and foliage work well because you can scatter them around to cover up any "holes" or put right up close to the doorknob.
After the paint dried, I sprayed it with a clear acrylic lacquer. You might want to do several coats of the lacquer, so you can wipe it down later.

 RSS Feed

