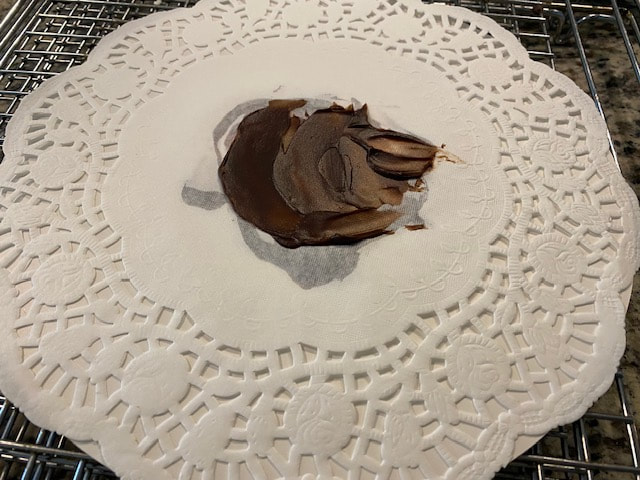
To KEEP YOUR CAKES FROM SLIDING ~ put a big dollop of CANNED FROSTING in the center of the cakeboard (if you're using a doily, put a dollop under the doily and also on top). Canned frosting dries quickly and works like "glue"
|
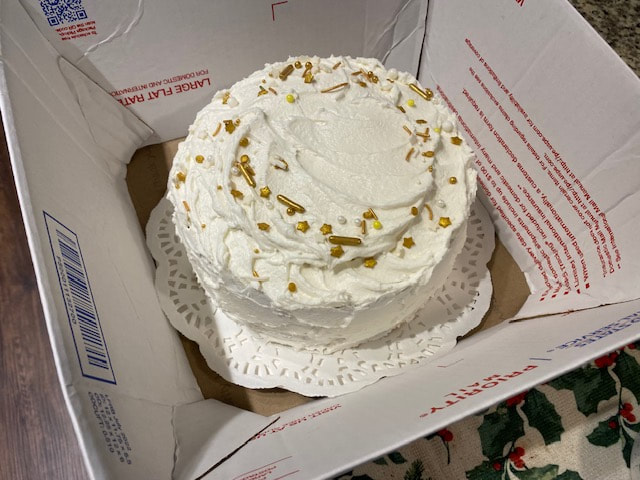
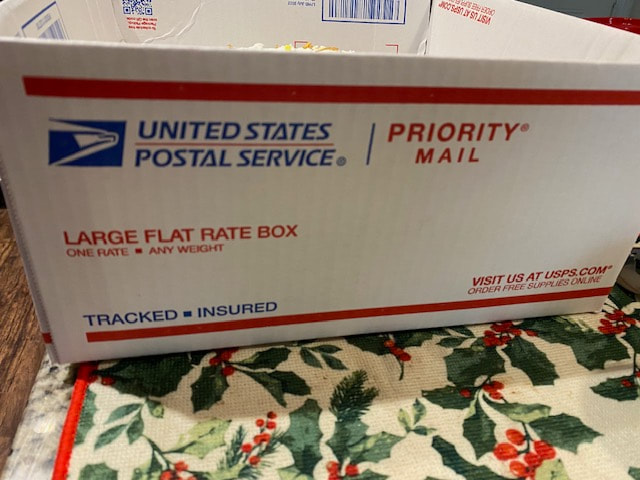
If you need to transport a 8", 9" or 10" cake to somewhere ~ and it's on a cake board ~ the best way is in a LARGE priority flat rate box from the Post Office. (You can order these boxes free on their website, and your postman will deliver them to your house.) It's 12x12" but when you fold the sides down inside, it will securely hold a cake that's on a 10" cakeboard!
To KEEP YOUR CAKES FROM SLIDING ~ put a big dollop of CANNED FROSTING in the center of the cakeboard (if you're using a doily, put a dollop under the doily and also on top). Canned frosting dries quickly and works like "glue"
0 Comments
HOW to SOFTEN BROWN SUGAR that's gotten hard.
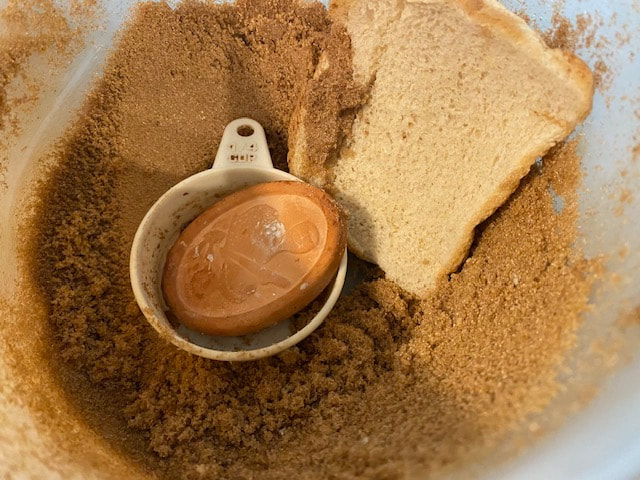
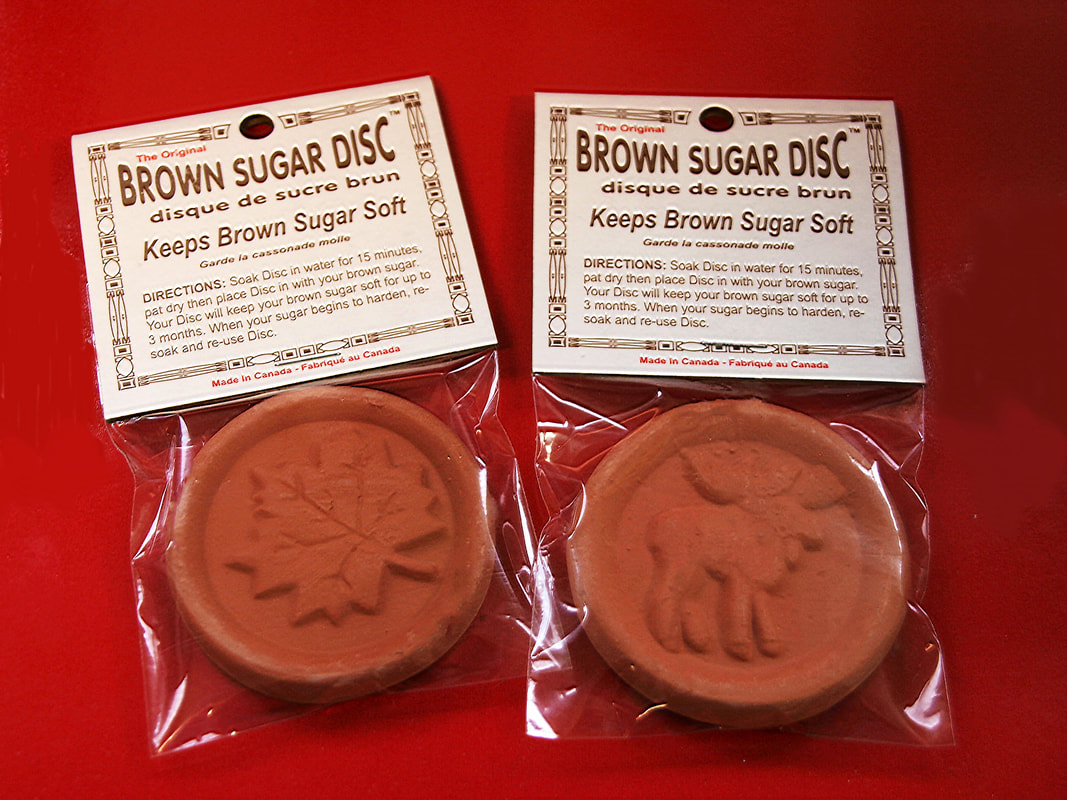
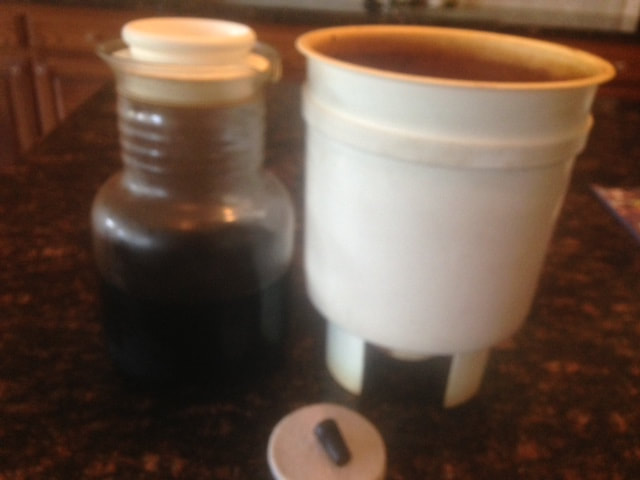
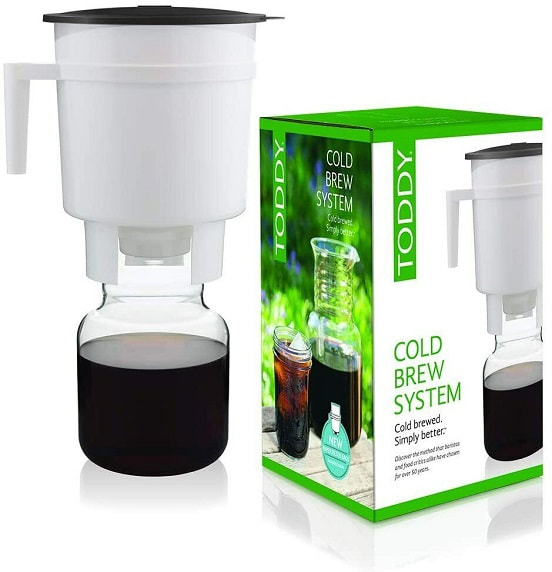
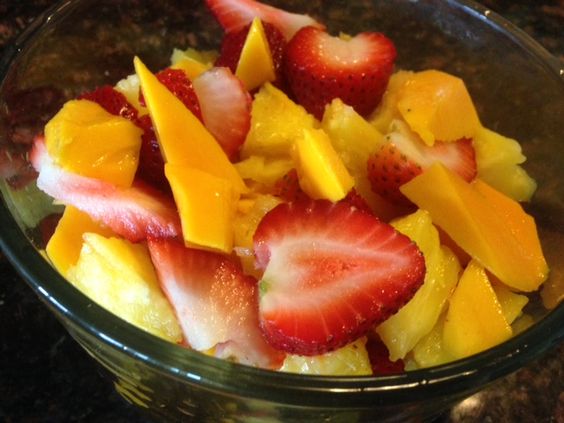
My mother and grandmother always keep a slice of bread in their canister of brown sugar, and when I started baking, I realized why. It will keep your brown sugar soft and stop it from getting rock hard and clumping up in your canister. So, just stick the heel of a loaf of bread in there (I replace it occasionally with another heel of a loaf). To be doubly sure that my brown sugar stays soft, I also have one of those special brown sugar terra cotta discs in my brown sugar canister. I dampen it occasionally, and set it in an old 1/4-cup measure (so it isn't resting directly on the sugar). You can find them on-line @ eBay, Etsy, or any store that has baking supplies. BUT ~ what do you do when you need your brown sugar NOW and haven't done either of the above precautions ~ and your brown sugar is rock-hard? You can soften it in the microwave! 1. Put the amount of brown sugar in a microwavable bowl. 2. Put a couple of damp paper towels on top of the brown sugar. 3. Tightly cover the bowl with plastic wrap or microwave safe lid. 4. Heat the bowl in the microwave for 30 seconds. (If not yet softened, continue to heat for 10- second intervals.) 5. Fluff the sugar with a fork or whisk and use it immediately 6. Put that piece of bread in your canister to soften what's in there for next time!! I've been making COLD BREW COFFEE in my "Toddy Maker" for over 40 years ~ and it's the only way my husband will drink coffee. This system (using the filters provided) will take out 90% of the acid (and that's what bothers most people) and about 90% of the caffeine ~ even using a pound of your favorite ground coffee (not decaf ~ I actually buy dark roast for him). You get 2 filters, 2 black stoppers, plus the big white filter thingy ~ the glass container, handle and lid. I just wash out the filters, and they'll last for years! (The instructions may say that they last for 10 uses, and a pound of coffee will last 2 weeks ~ HAHA ~ a pound of coffee will only last my husband about 3 days!) You can buy more stoppers and/or filters separately (very inexpensive) on eBay, if necessary. Forget what the instructions say ~ this is what I do: Wet the thick white filter and stick it into the round indentation in the bottom of the white thingy. Put the rubber stopper underneath (and make sure it's in really well). Then put about 2 cups of water in the white thingy (TIP: If it "bubbles", then gently smash the filter down better into the indentation). Next put about 12 oz. ground coffee into the water and stir ~ start pouring more water in (and stirring) until it's about 4" from the top of the white thingy. Let it sit for about 5 minutes (the coffee will harden up a little) ~ then go back and stir with a spoon to loosen up the coffee, and pour more water in, stirring (until about 3" from top of white thingy). TIP: Put the whole thing into a bowl, in case it leaks! Instructions say to let it sit 10-12 hours, and that's best. But sometimes I've waited too long to make it, so I've let it filter through after 6 or 8 hours instead (and it's fine). (I have a mini-espresso machine, and Hubby will have a cup from there in an emergency, but he's not used to the "oil/acid" or caffeine). NOW, the TRICKY PART! Lift the white thingy up (I use the handle by stabilize with my other hand) and center it over the glass jar. Pull out the rubber stopper on the bottom and set the white thingy over the glass jar ~ and let the coffee concentrate drain into the glass jar. In theory, if you turn the lid of the glass jar over, that measurement is supposed to be the amount of concentrate to use in 8 oz. of water (but you can use more or less, to your liking). You can heat up 8 oz. of water in the microwave for hot coffee ~ or use the concentrate (and remember that it IS a concentrate!) to make iced coffee. *** If you're going camping ~ renting a condo ~ or anywhere else that you can heat water ~ just take your own concentrate in a mason jar! EXTRA BONUS: Put those "used" coffee grounds on your acid-loving plants! gardenias, jasmine, camellias all love it! (I'll toss about 1/2 cup under them) If you have hydrangeas, the acid in the coffee grounds will turn the blossoms BLUE (if you do that before they start budding) I used to hate adding strawberries to a fruit salad (especially one with pineapple in it) because the red from the strawberries always seemed to bleed onto the other fruit. ... Until I discovered this easy trick! Wash your strawberries and put them to dry on a paper towel (while you prepare the other fruit). Then pat them dry and slice them ~ add to the fruit salad.
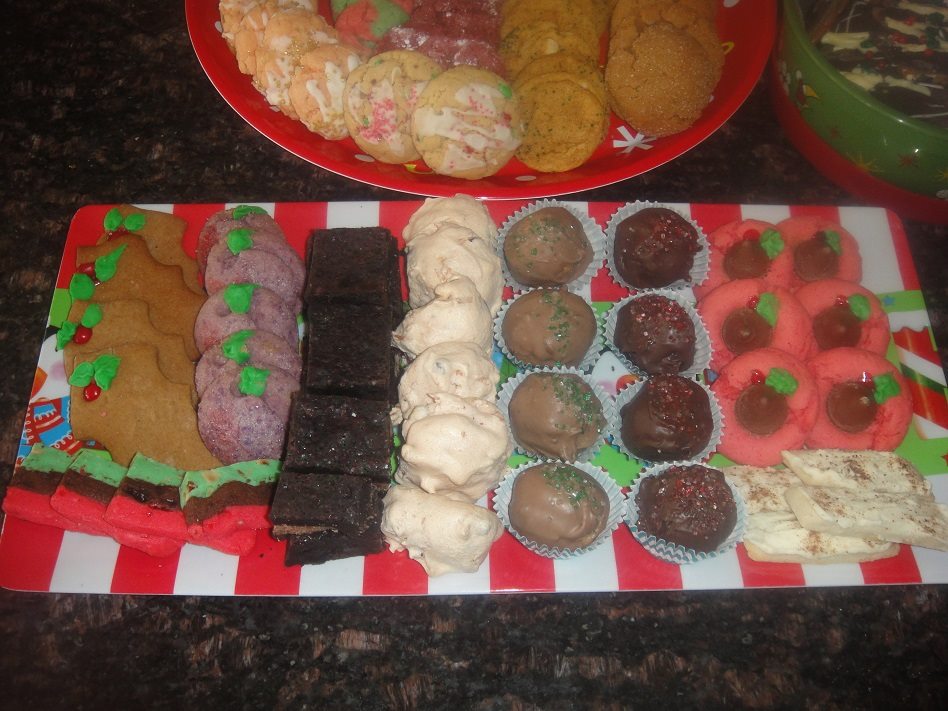
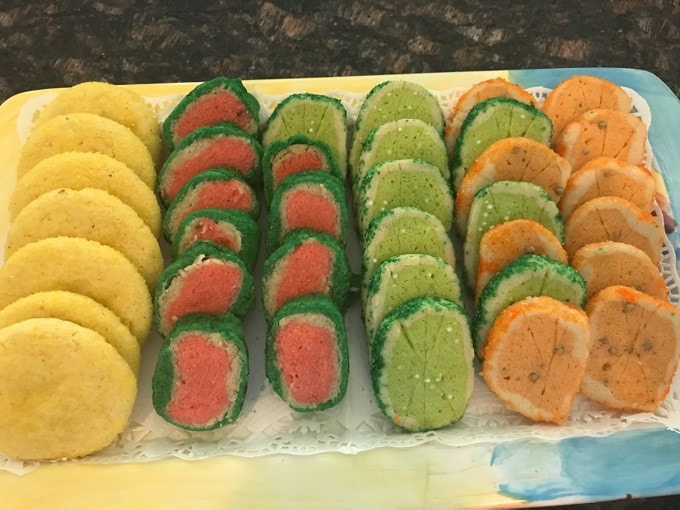
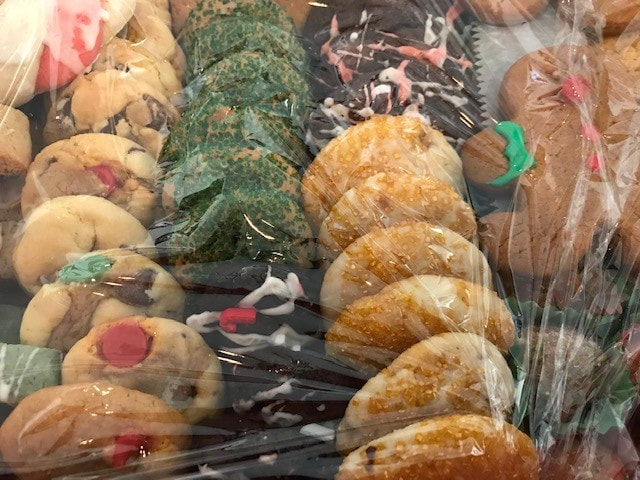
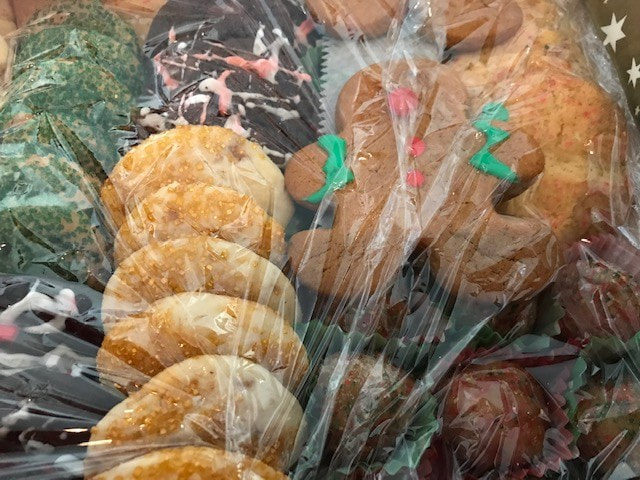
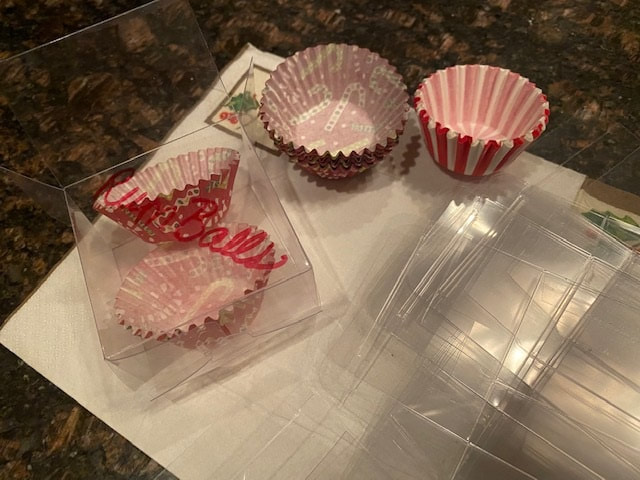
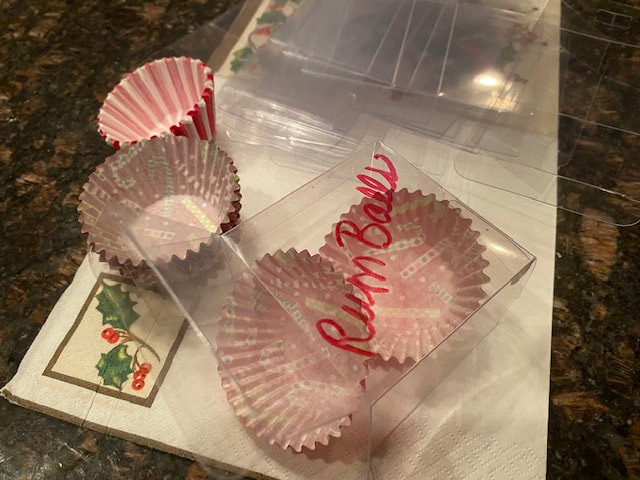
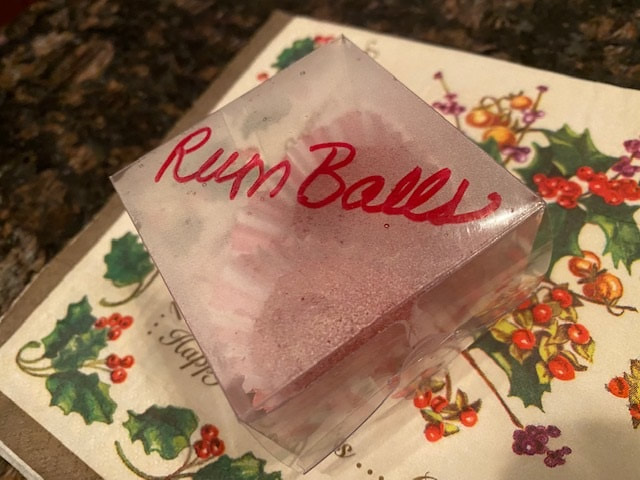
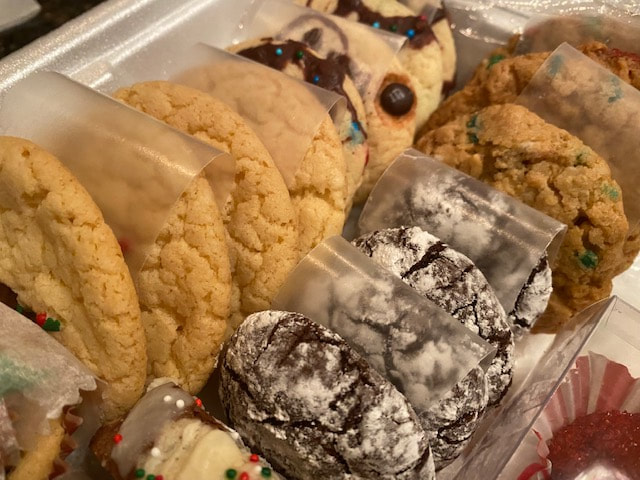
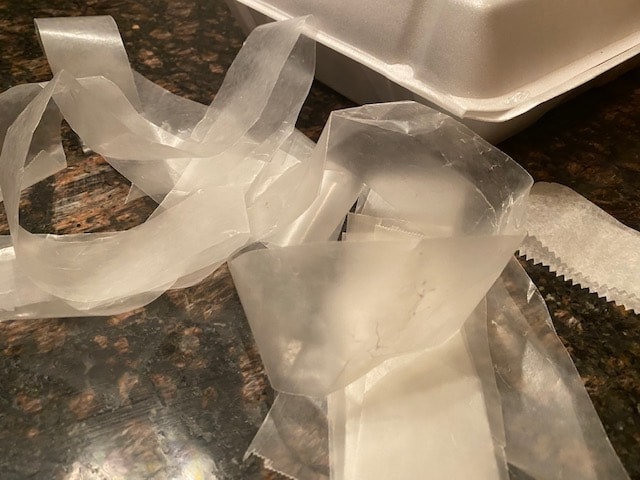
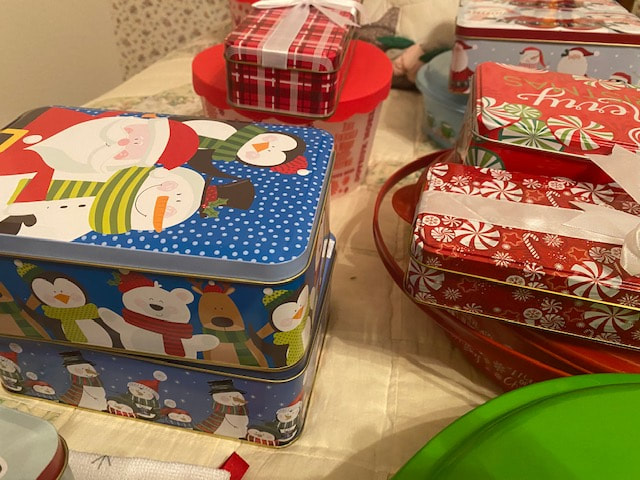
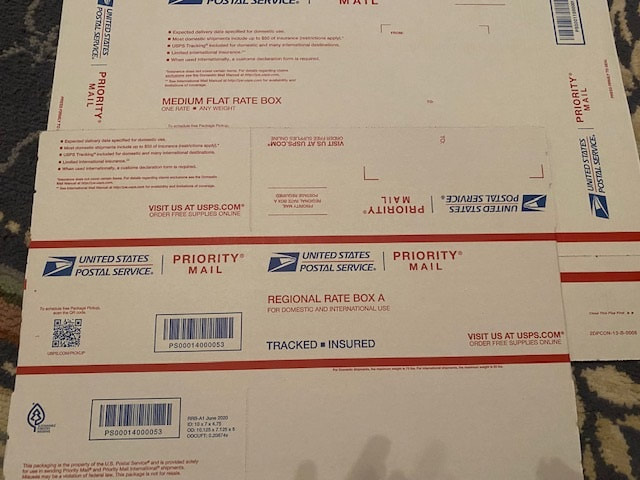
For some reason, wet strawberries bleed into the "wet" fruit salad ... but dry strawberries don't!! (or at least not as much) I sell homemade baked goods on eBay, and one of my items is a SEASONAL COOKIE ASSORTMENT which varies per season. From Thanksgiving through New Year's, I may send out 10 orders (2 dozen each) per day with a minimum of 4 kinds, so I have to keep a variety of cookies ready to package and ship at a moment's notice. This is even more important the rest of the year, when orders for assortments are fewer and far apart ~ so I've found 3 different ways to have a variety of kinds of cookies ready to send out when orders come in. (1) Most cookies freeze well, so I will put them into Rubbermaid / Tupperware containers in the freezer with waxed paper between the layers. During the Holidays, I may have 6-8 large containers in the freezer (!), but the rest of the year I will usually only have about 2 containers. I ALWAYS have GINGERSNAPS ready to ship (they're my most popular cookies) ~ plus a couple of flavors of MANDEL BROT (mini-biscotti). (2) I will make up my own ICEBOX SLICE & BAKE LOGS (some are actually rectangles), wrapped well in saran ~ to slice & bake fresh as I need them. Most of the logs can be kept in the freezer, and sliced frozen (just let them thaw about 5 minutes before baking). The Summer Fruit cookies were all my Slice & Bake Logs. (3) I will have about 5-6 tubs of homemade COOKIE DOUGH in the refrigerator ~ to scoop out and bake as I need fresh cookies. This type of cookie is usually chocolate chip, peanut butter, pumpkin chip, sugar cookie, or something else that's rolled in a ball and gently flattened slightly before baking. When I make the balls, I will roll them either in plain granulated sugar ~ or colored sugar for the season ~ before baking. TIP: If you want to put SEASONAL SPRINKLES on cookies, bars or brownies (and don't want to frost them), dip the tops of the cookies into the sprinkles BEFORE BAKING (or sprinkle on the brownies before baking), so they'll stick. *** HOLIDAY BAKING SCHEDULE: Many years ago, we used to host gigantic Christmas parties (over 700 people) at our house, with a square dance band and tons of Christmas cookies and cakes that I would bake myself. Although my Christmas baking has scaled way back, I still stick to the same schedule that I did then: DAY AFTER THANKSGIVING (for about a week), I will make at least 3-4 kinds (or 5-6, if I feel like it) types of cookies as stated above. Then I'll take 1-2 days to make 4-5 different types of fudge and the peppermint marshmallows that my oldest grandson loves. Last, I'll do the SPECIALTY COOKIES ~ formed cookies that take more time and are more "Holiday Specific" (twisted candy canes ~ Whiskey knots ~ Gingerbread cut-outs ~ etc.) *** PACKAGING RUM & BRANDY BALLS ~ or Marzipan Fruit I buy little cellophane box (Hobby Lobby {wedding supplies} or eBay) that will hold 2 bon bon papers, to put RUM BALLS in, when I put them into cookie boxes or baskets. This is VERY IMPORTANT so that the rum (or brandy) scent doesn't permeate the other cookies! Then write RUM BALLS on top, so the recipient will know what they are and won't give them to children. If you have friends or relatives who are ALLERGIC TO NUTS OR CHOCOLATE, package those in another box (or separate them in plastic baggies), and write "nuts" or "chocolate" clearly on the box or baggie so that person will know what is ok (or not) for them to eat. PACKAGING and SHIPPING: I use square styrofoam boxes for eBay customers (and square tins from Dollar Tree for family & friends). You want SQUARE (or rectangle) so the cookies fit in there better, and they will fit into the shipping boxes better than a round box. I put a long piece of saran wrap on the bottom, and a piece of waxed paper on top of that. Then long strips of waxed paper over and under the rows of cookies (1st photo). Another piece of waxed paper on top (or a birthday or holiday napkin) ~ and the ends of the saran wrap over all. Close the box and tape shut. Put into a big zip-top baggie or other plastic bag. For the Holidays, you can usually find COOKIE TINS or boxes at DOLLAR TREE ~ or get Rubbermaid containers there. I highly recommend getting SQUARE boxes, tins and containers (NOT round) since they'll fit into shipping boxes better. There are 2 different priority FLAT RATE boxes for shipping which are best to use ~ so you don't have to weigh them. All boxes can be ordered from the Post Office's website (FREE) and will be delivered to you by your mail carrier. You can purchase labels on-line from the post office, but they're usually even cheaper if you purchase them from Paypal (and come with tracking & insurance then). You can schedule a FREE pick-up from the post office too! ** I use plastic grocery bags as packaging in the boxes. All of my cookie recipes are available here ~ you can search by keyword, or by category.
I also have a Pinterest board for CHRISTMAS & HANUKKAH COOKIES (but the link won't copy here)
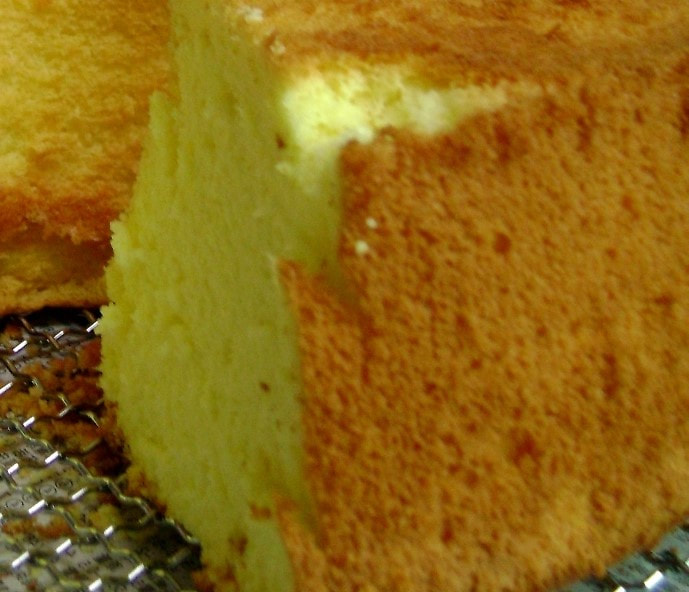
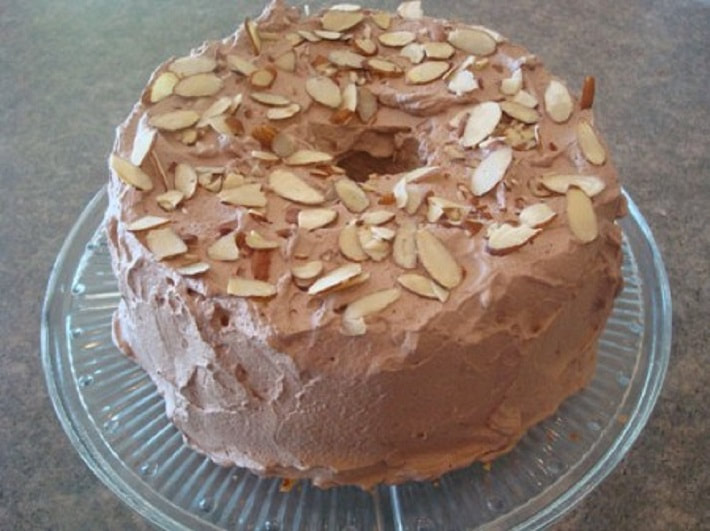
DIFFERENCE between SPONGE, CHIFFON & ANGEL FOOD CAKES
Sponge cakes contain whole eggs. Their leavening comes only from beaten egg whites (no baking powder or soda), and they have little or no butter. Chiffon cakes are light like sponge cakes, but the egg whites are not beaten separately. Chiffon cakes also generally contain oil so they are more tender and moist than sponge cake. Angel food cakes have no fat or leavening (such as baking powder). They are leavened with beaten egg whites and they have a high proportion of egg white to flour.
The Absolute Best Ways to Cook Bacon, According to Sooo Many Tests …. from FOOD52
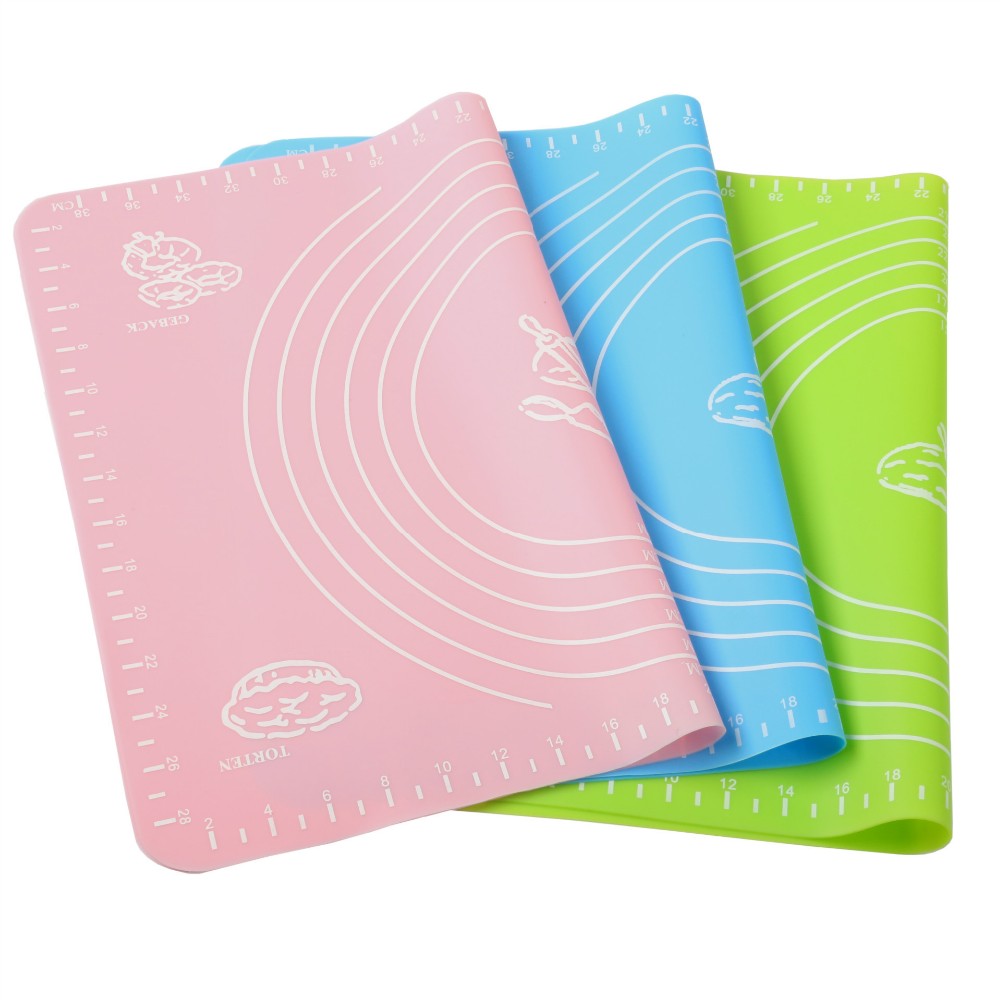
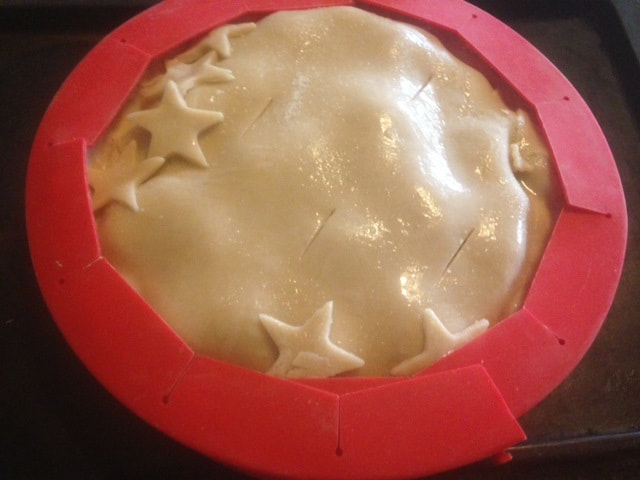
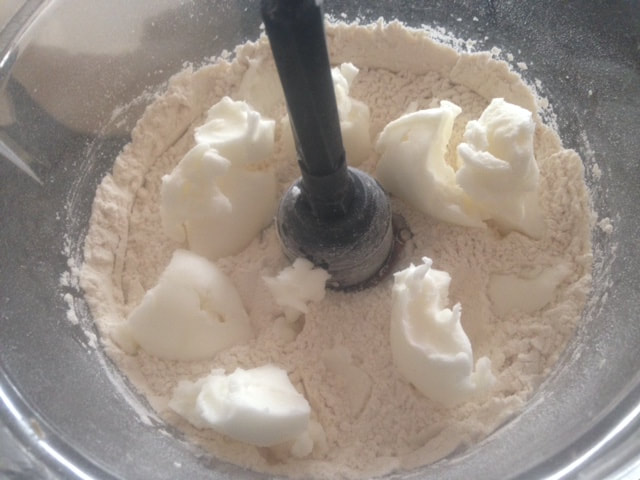
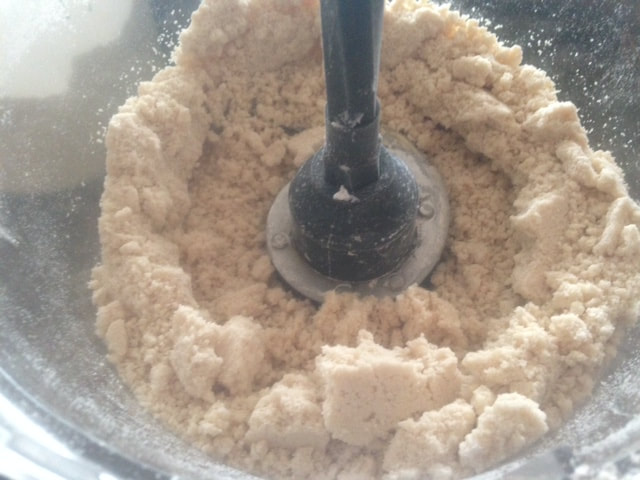
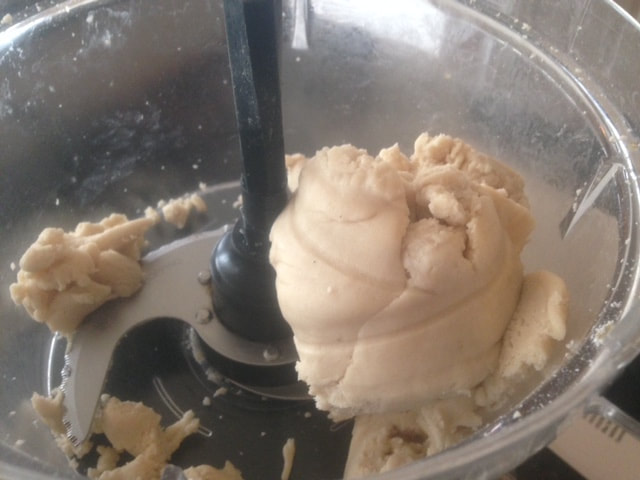
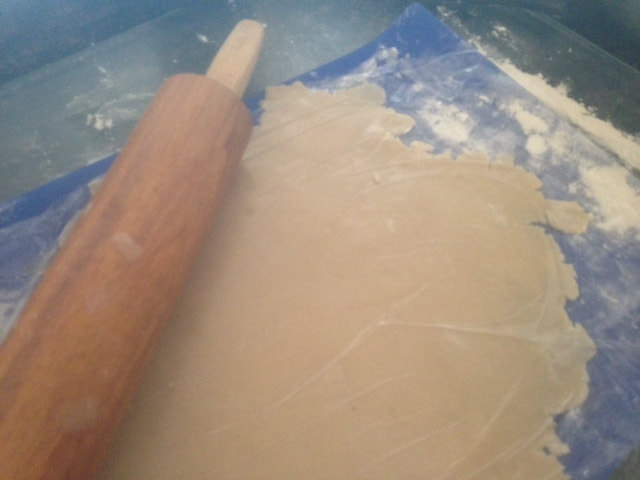
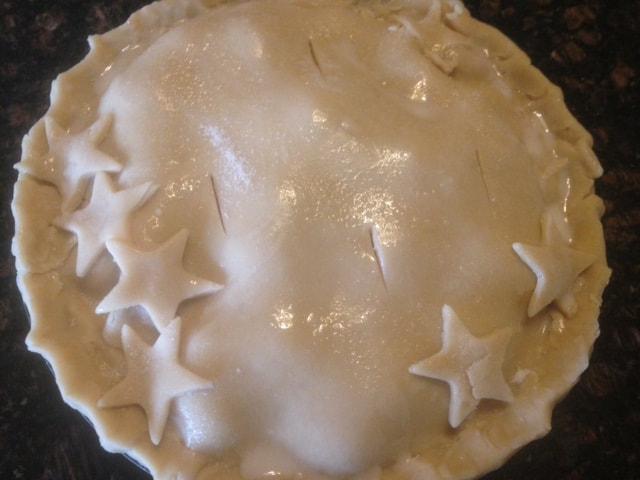
I've always been able to make just about any cookies, cakes or bread that you want ~ but a pretty pie is a different story. I think I just am too particular about rolling the crust too thin (I don't like thick pie crust), so it always seems to crack and not look as pretty as it should. Over the years, I've come up with some tips to help cover up those "boo boos", and also to help you save some time and effort too! Rolling out the crust: I always roll out my crust on a silicone baking mat (or silpat) right next to the sink because that's the easiest way to clean up (just sponge all the mess into the sink afterwards). My grandmother always taught me to roll out my pie crust ~ then put the pie pan down onto the crust and cut a circle about 1" larger than the pan ~ then roll the crust onto my rolling pin and roll it off into the pie pan. Yes, that does work well and I did it for years! But, if you've rolled your pie crust onto a silicone mat, you can cut the circle out the same way ~ leave the pan there ~ then take all the scraps off the mat and just flip the pan & mat over! Voila! less chance of tearing the crust... And, speaking of rolling out the crust..... put some flour on the silicone mat (or whatever surface you're using), but then put a large piece of plastic wrap on top and roll it out. No need to flour your rolling pin or put extra flour on the top side of the dough. This keeps the dough from getting too much flour into it (and making it tough ~ especially if you roll it several times, like re-rolling scraps which means you're adding flour to it several times). BUTTER or SHORTENING CRUST? … I prefer shortening for several reasons. It's easier to work with ~ I don't have to chill it ~ and it's flakier. Here's the button link to my PERFECT PIE CRUST page, with recipes for both crusts, and you can decide which you like best. The EASY WAY to make PIE CRUST: Did you know you can make your pie crust in your food processor? Put the flour & salt in and give it a whirl. Then put in the shortening or butter (scatter the dabs/cubes around on the flour). Pulse until it looks crumbly. Pulse in the water. Basically follow your regular recipe, but pulse the food processor instead of using a pastry cutter or 2 forks.
|
Archives
December 2023
Categories
All
|










 RSS Feed

